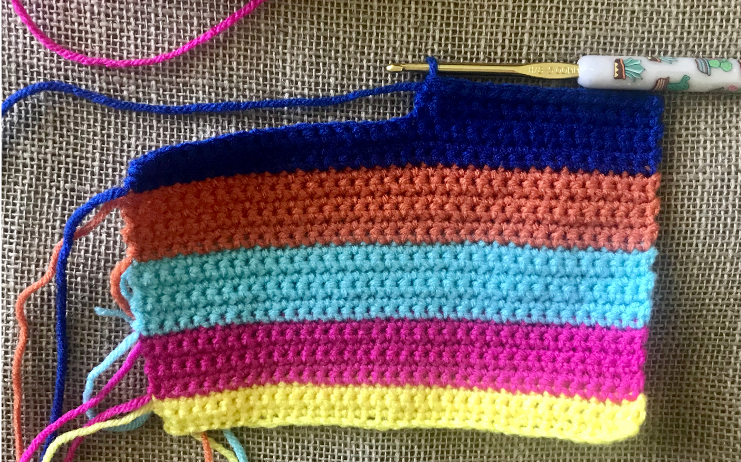
Starting with yarn color BRIGHT YELLOW
Ch 35
Row 1 – in the 2nd ch from hook, sc 1 across, ch 1, turn (34)
Row 2 – sc 1 across, ch 1, turn (34)
Row 3 – sc 1 across, do not ch 1 or turn (34)
** Change yarn color to SHOCKING PINK
Row 4 – at the last st made of Row 3, pull through the SHOCKING PINK yarn, ch 1, turn. Sc 1 across, ch 1, turn (34)
Rows 5 – 8 – sc 1 across, ch 1, turn (34)
Row 9 – sc 1 across, do not ch 1 or turn (34)
** Change yarn color to ARUBA SEA
Row 10 – at the last st made of Row 9, pull through the ARUBA SEA yarn, ch 1, turn. Sc 1 across, ch 1, turn (34)
Rows 11 – 14 – sc 1 across, ch 1, turn (34)
Row 15 – sc 1 across, do not ch 1 or turn (34)
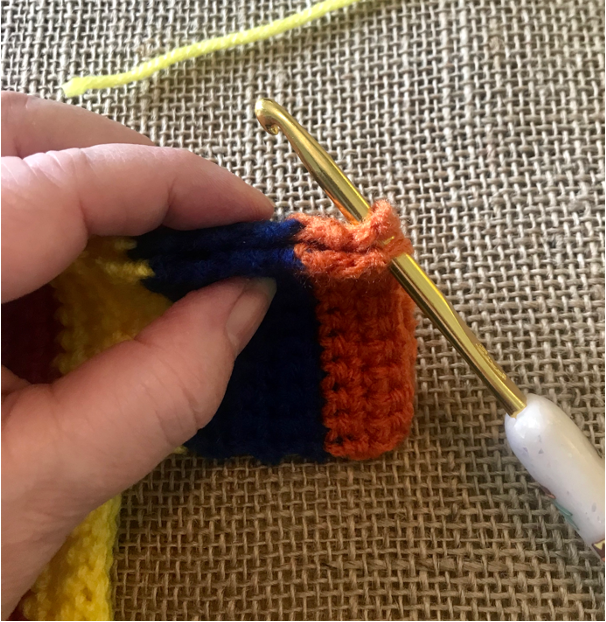
** Change yarn color to CARROT
Row 16 – at the last st made of Row 15, pull through the CARROT yarn, ch 1, turn. Sc 1 across, ch 1, turn (34)
Rows 17 – 20 – sc 1 across, ch 1, turn (34)
Row 21 – sc 1 across, do not ch 1 or turn (34)
** Change yarn color to ROYAL
Row 22 – at the last st made of Row 21, pull through the ROYAL yarn, ch 1, turn. Sc 1 across, ch 1, turn (34)
Row 23 – sc 1 across, ch 1, turn (34)
Row 24 – sc 1 across, do not ch 1 or turn (34)
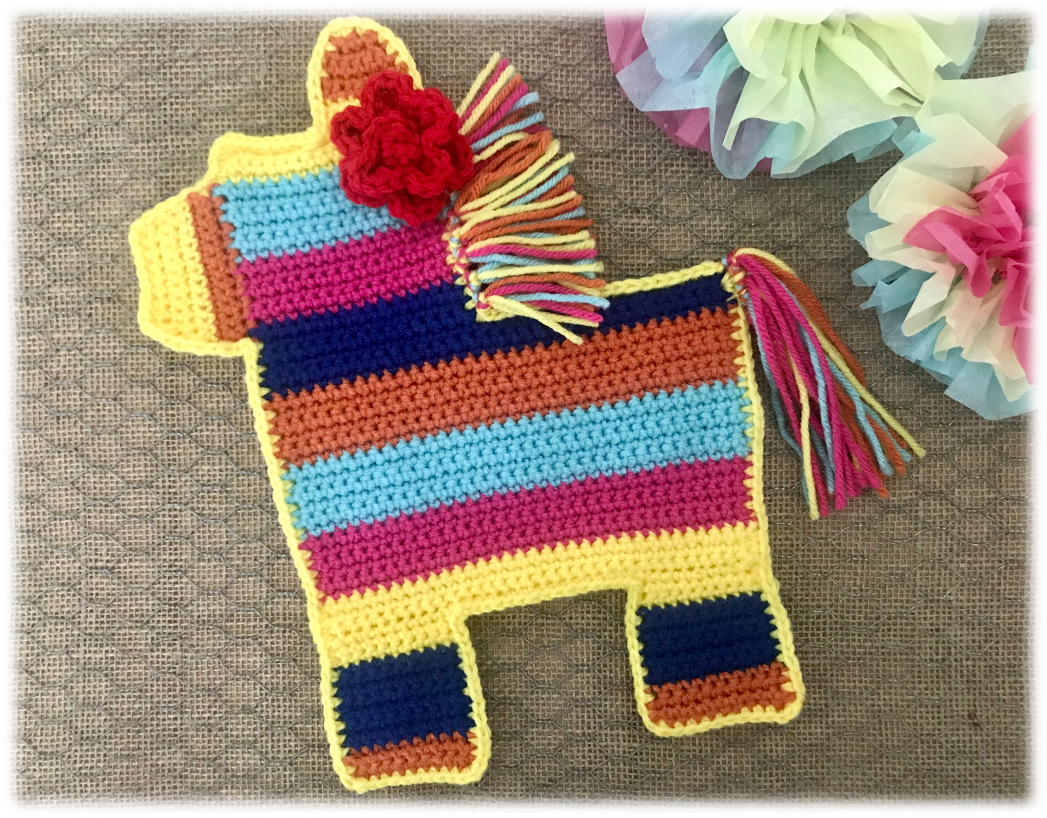
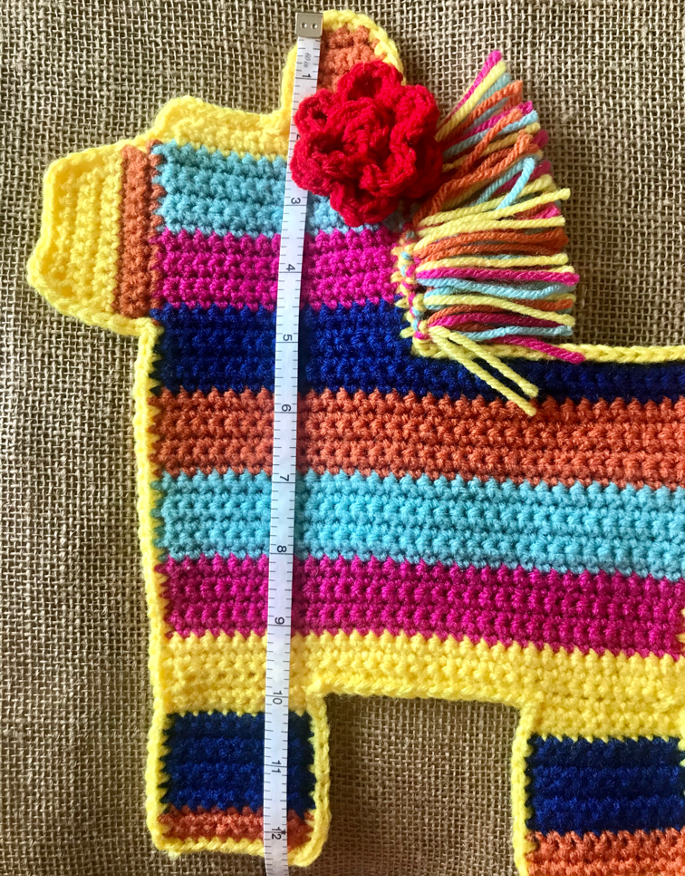
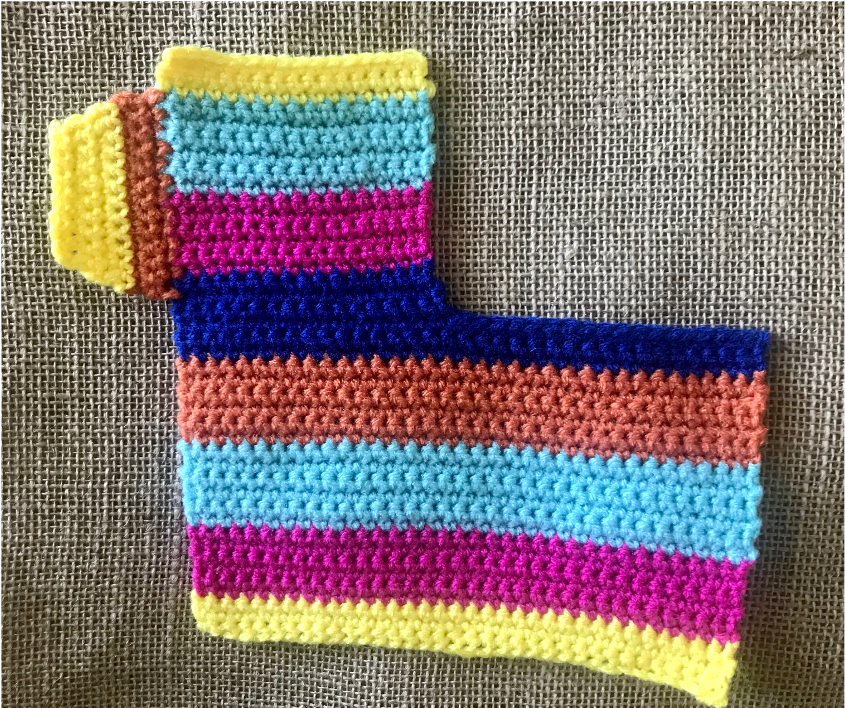
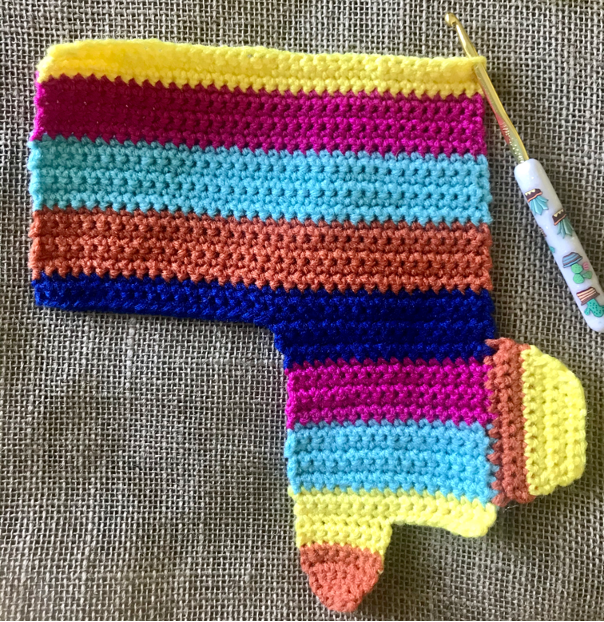
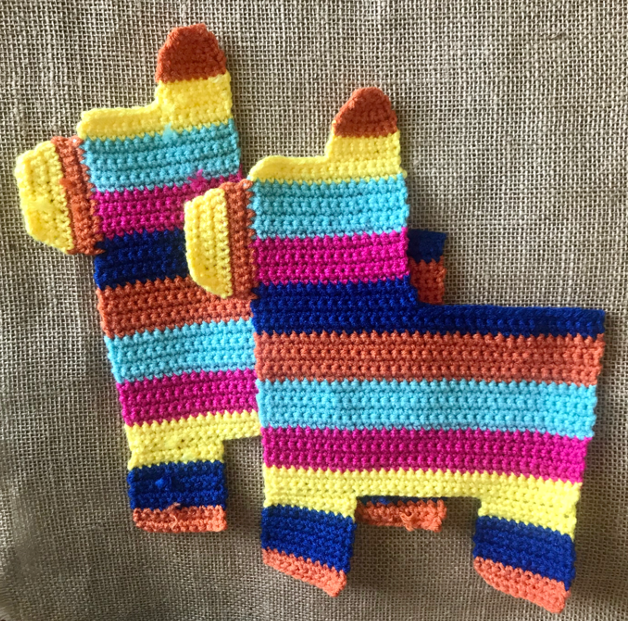
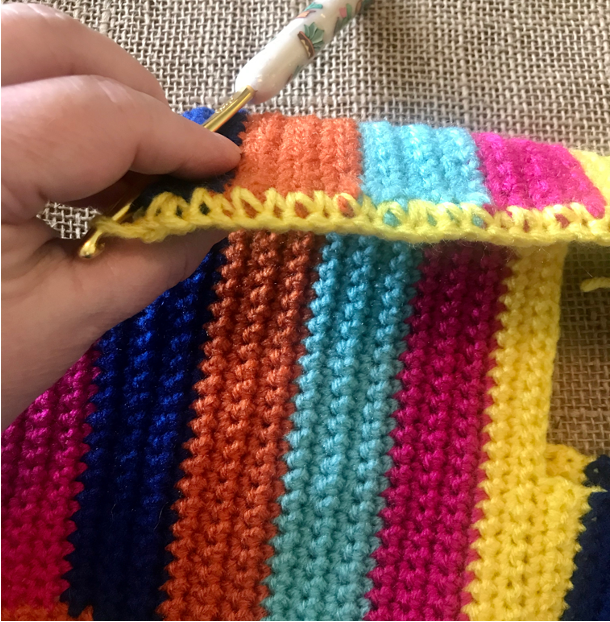
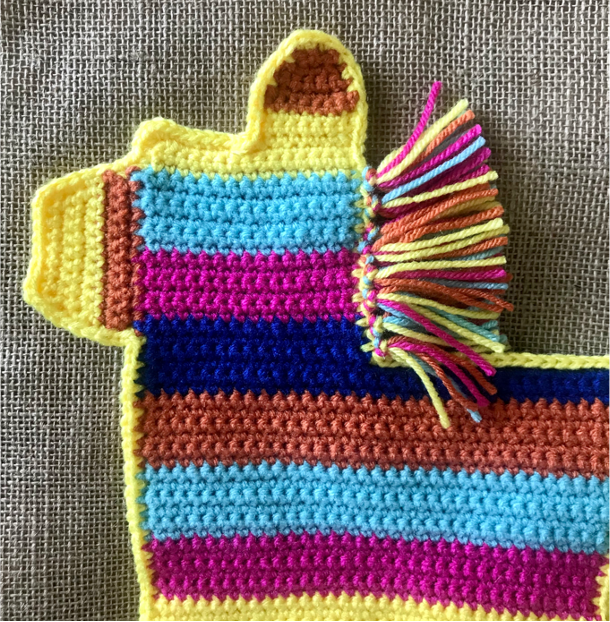
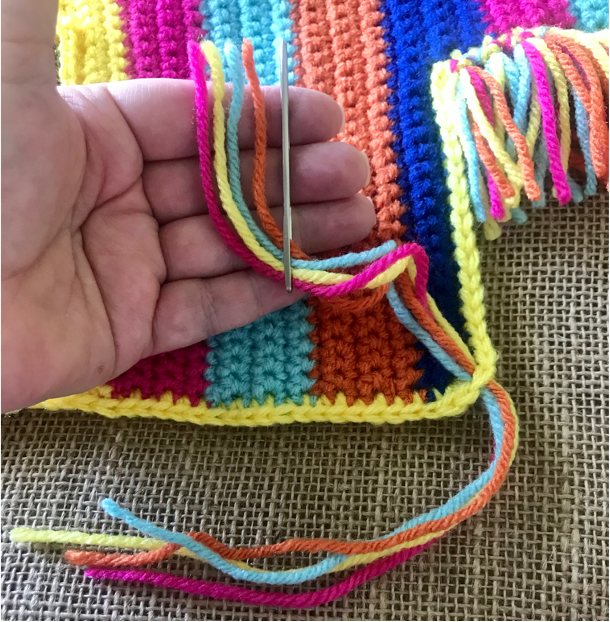
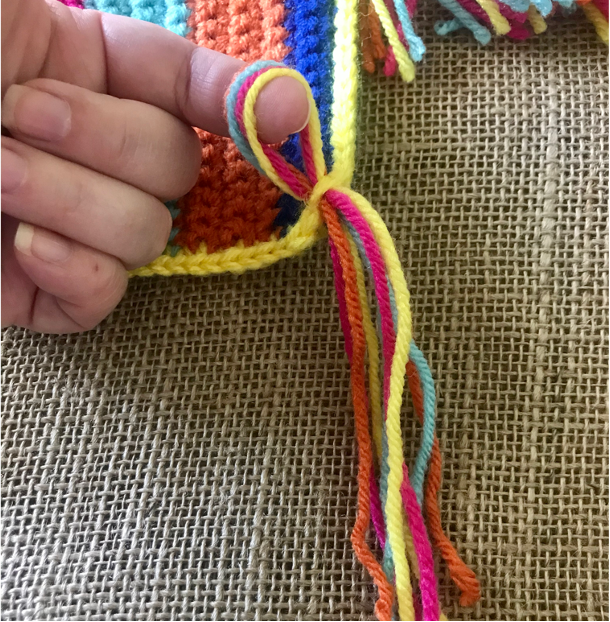
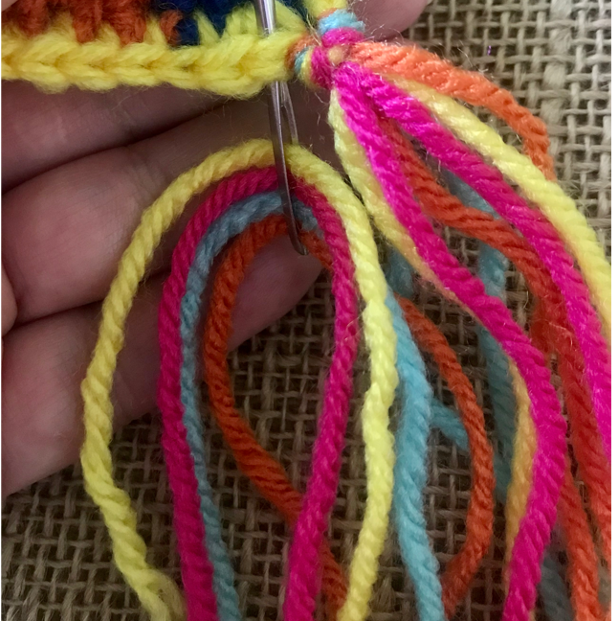
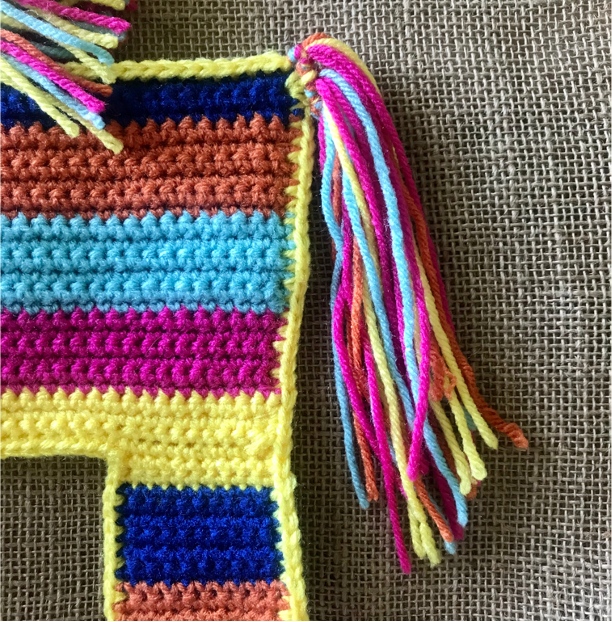
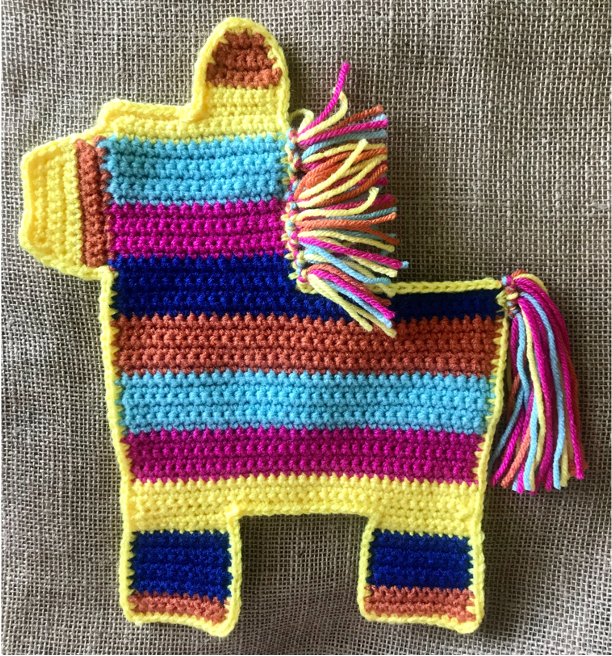
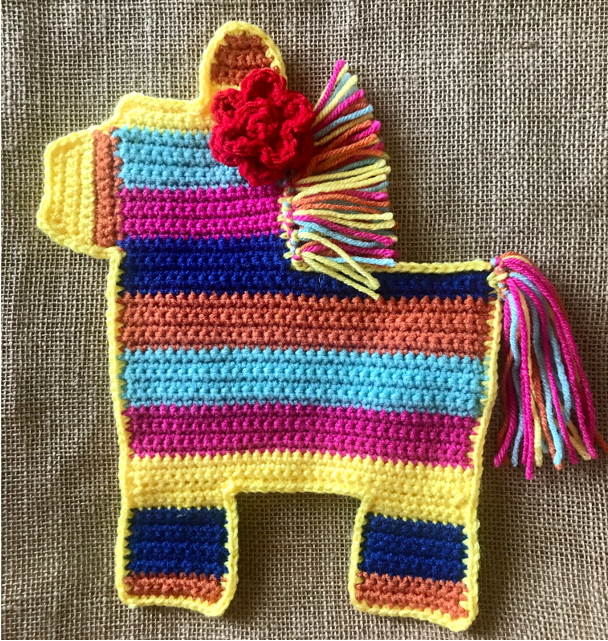
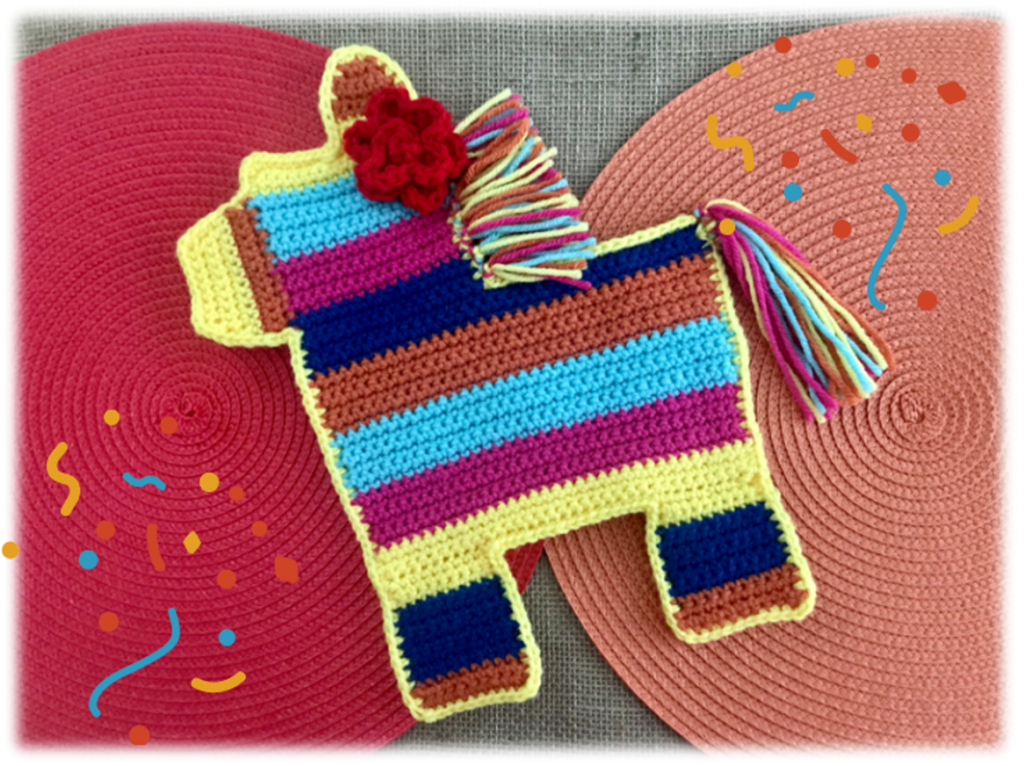
PHOTO BELOW SHOWS A FINISHED PINATA BODY


Leave a Reply