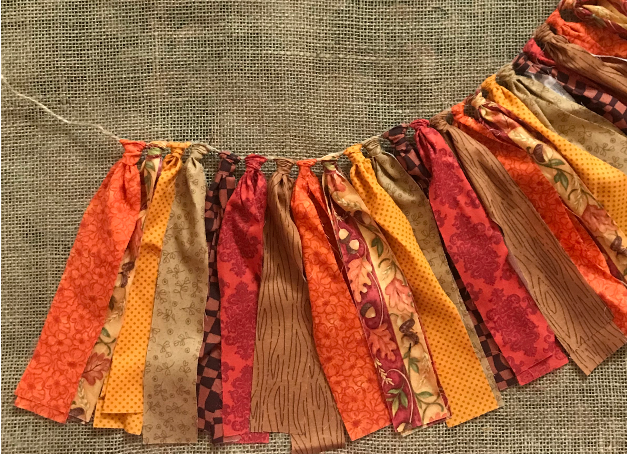
These simple fabric rag garlands make any holiday or occasion fun and festive! You’ll find the free, easy-to-follow instructions below, plus a few craft ideas you can make with the leftover garland fabric and a few rolls of toilet paper.
INSPIRATION
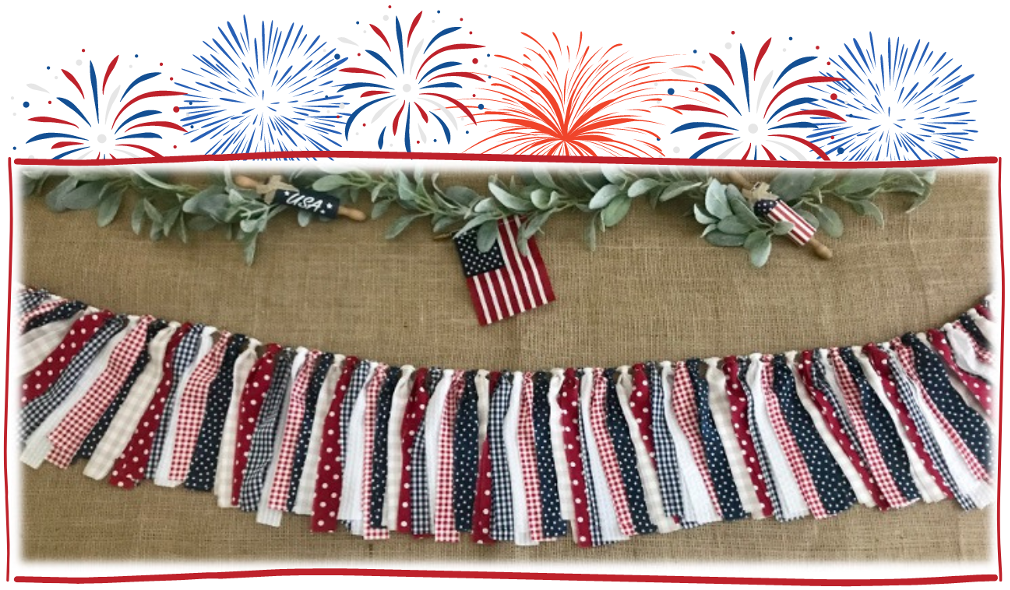
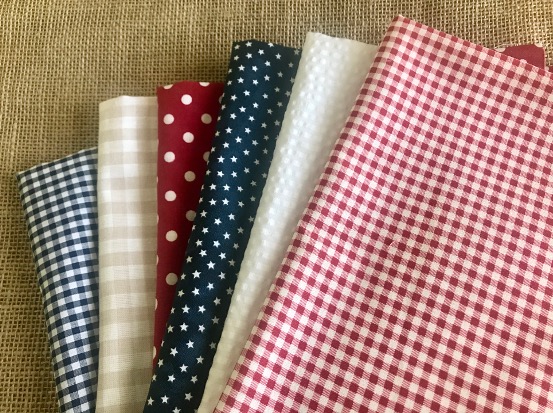
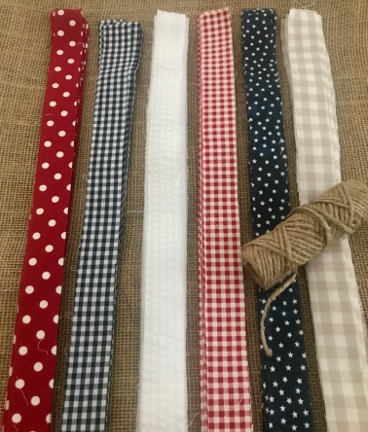
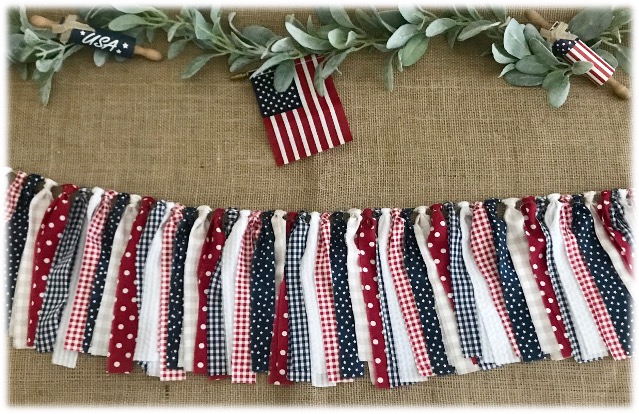
Making several of these garlands already I am determined to have one for every holiday. I didn’t want to let the 4th of July holiday pass by without adding a patriotic garland to my collection. I love decorating for this July holiday with all the red, white and blue, and this garland fits in perfectly with all my patriotic decor.
hjhjh
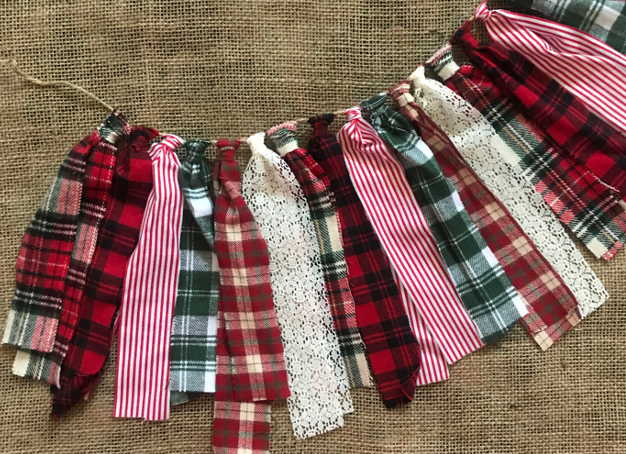
MORE OF MY HOLIDAY GARLANDS
SKILL LEVEL
EASY
hjh
PROJECT MATERIALS
FABRIC
1/2 yard each – 6 different fabric choices (5 or 7 choices work well too)
FABRIC NOTES
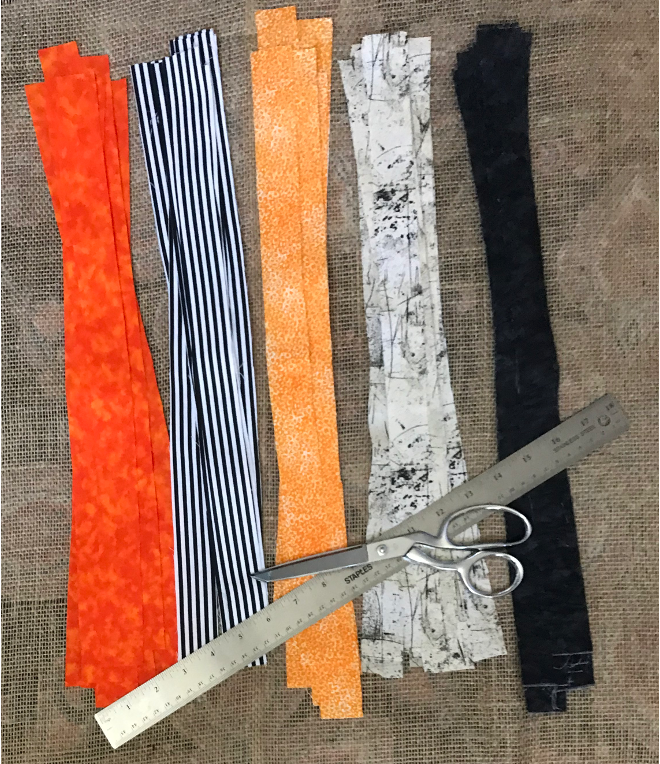
When shopping for fabric go straight to whatever’s on sale and choose by colors and generic prints. The cute holiday or occasion prints can become lost once the fabric is cut into strips.
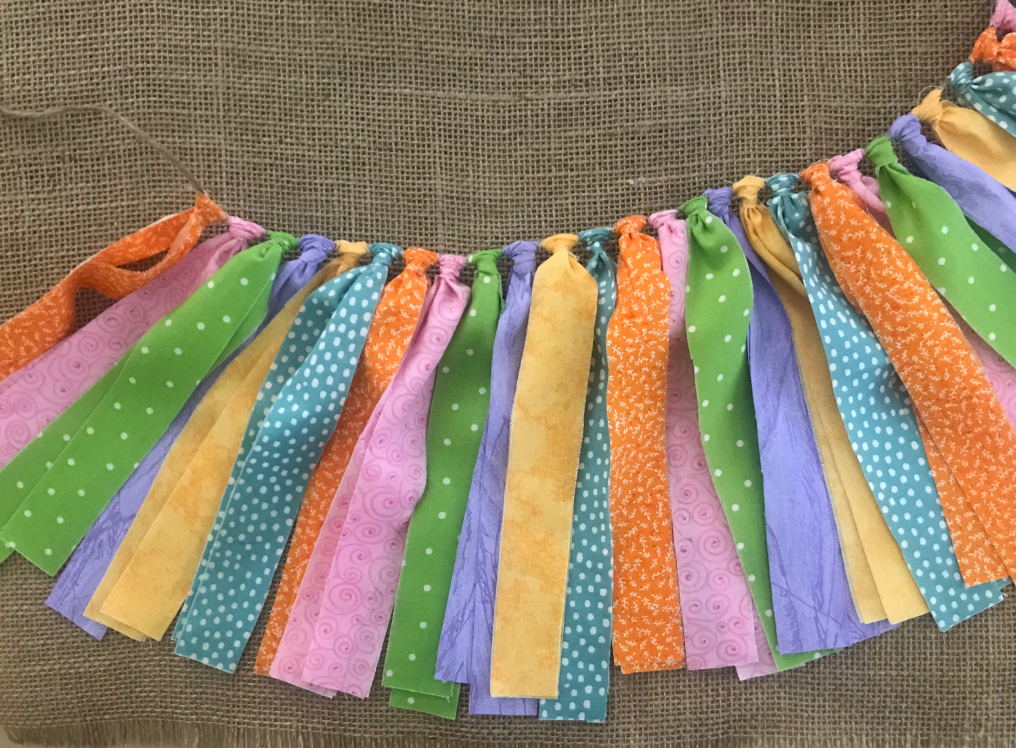
For this garland I chose 6 different fabrics, but I have gone with 5 or even 7 choices before. It all looks great!
I like the length of my strips cut at 18″ long, which will then be folded in half when stringing. 1/2 yard of fabric measures approximately 18″ x 44″ which is perfect for the length I want.
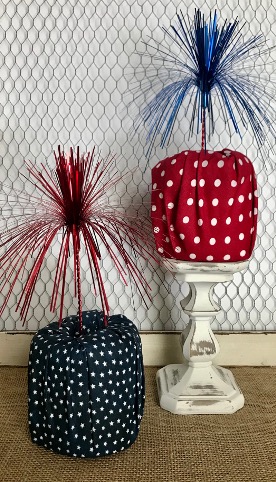
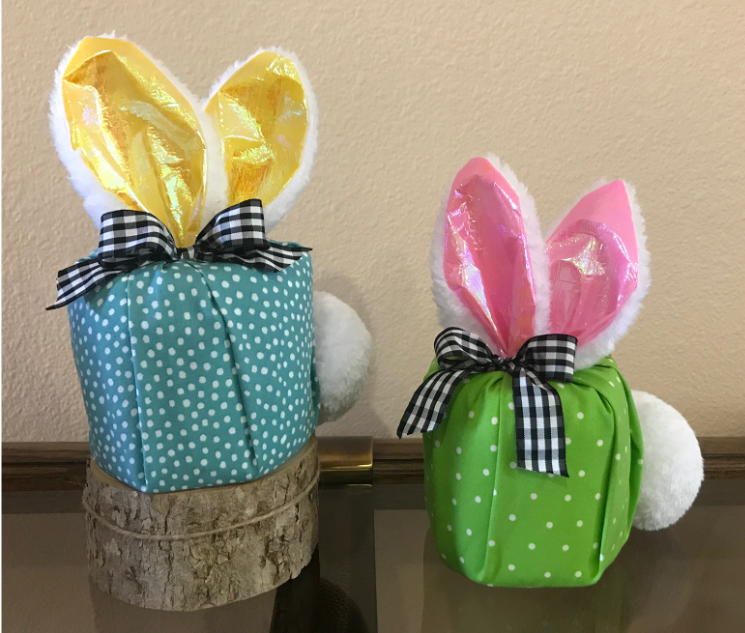
Leftover Fabric Ideas (with toilet paper rolls)
**With a 1/2 yard of fabric each, you will have a bit of fabric left, but I don’t mind because I can then make shorter length garlands in different sizes or use the extra fabric for another project all together.
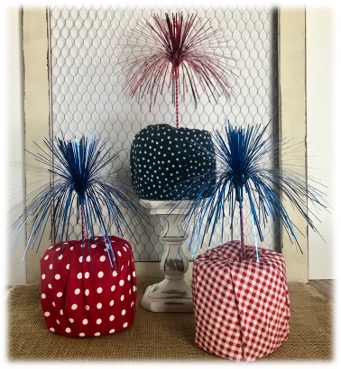
How cute are these firecrackers?! I made them out of my leftover fabric from my Patriotic Fabric Rag Garland.
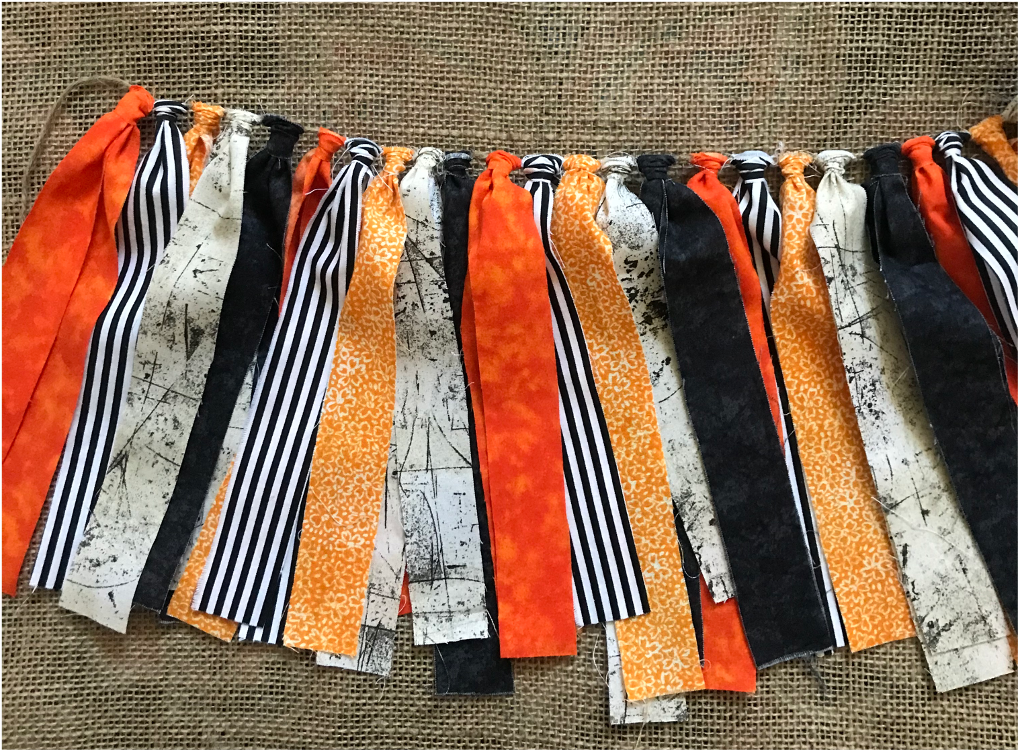
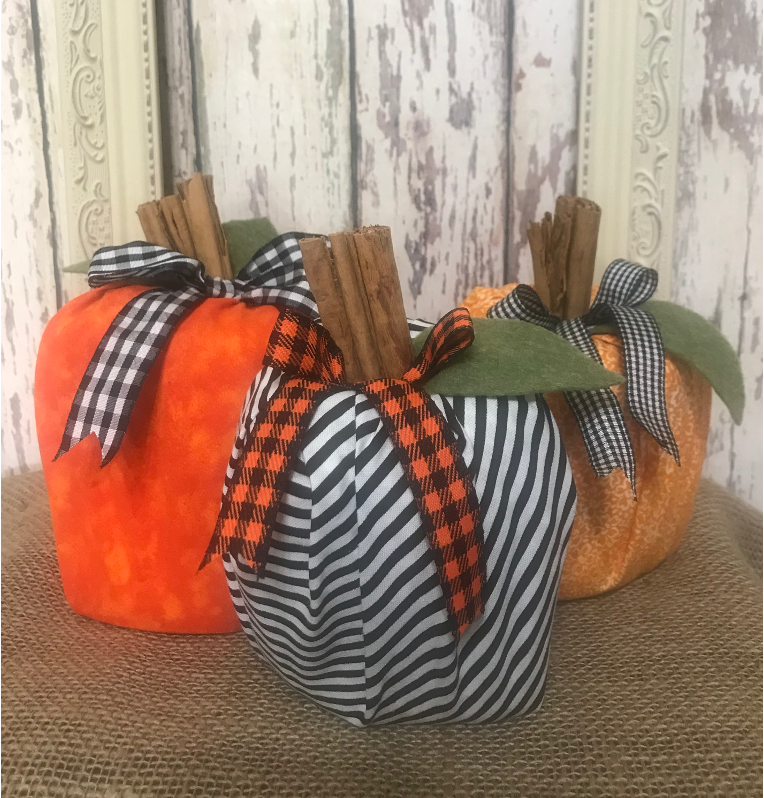
From my Vintage Halloween Fabric Rag Garland leftovers I made these adorable pumpkins. I used toilet paper rolls, tucked the fabric into the tube, added 2 cinnamon sticks, a felt leaf, and a ribbon for each pumpkin.
Hanging string (jute twine) measures 80″L – or 5′ of fabric strip space with 10 extra inches on each side for hanging.
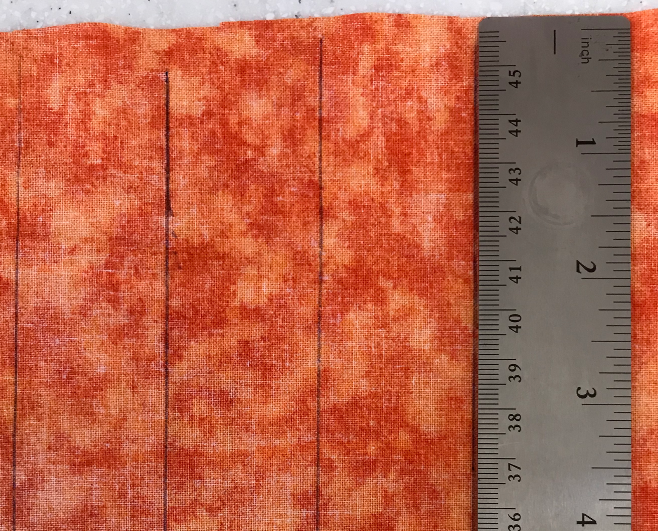
Each fabric strip measures 1 3/8″W x 18″L
MEASUREMENT NOTE: I use the width of my ruler to determine the width of each fabric strip, which is 1 3/8″W. HOWEVER, some rulers measure 1 6/8″W so whatever the width of your ruler is will work just find for the width of your strips.
PROJECT INSTRUCTIONS
PROJECT NOTE: I like to iron each fabric piece first before I start cutting to avoid creases and wrinkles showing on my finished piece.
CUTTING FABRIC
5 fabric choices – cut 18 strips per fabric choice x 5 = 90 strips total 6 fabric choices – cut 15 strips per fabric choice x 6 = 90 strips total 7 fabric choices – cut 13 strips per fabric choice x 7 = 91 strips total
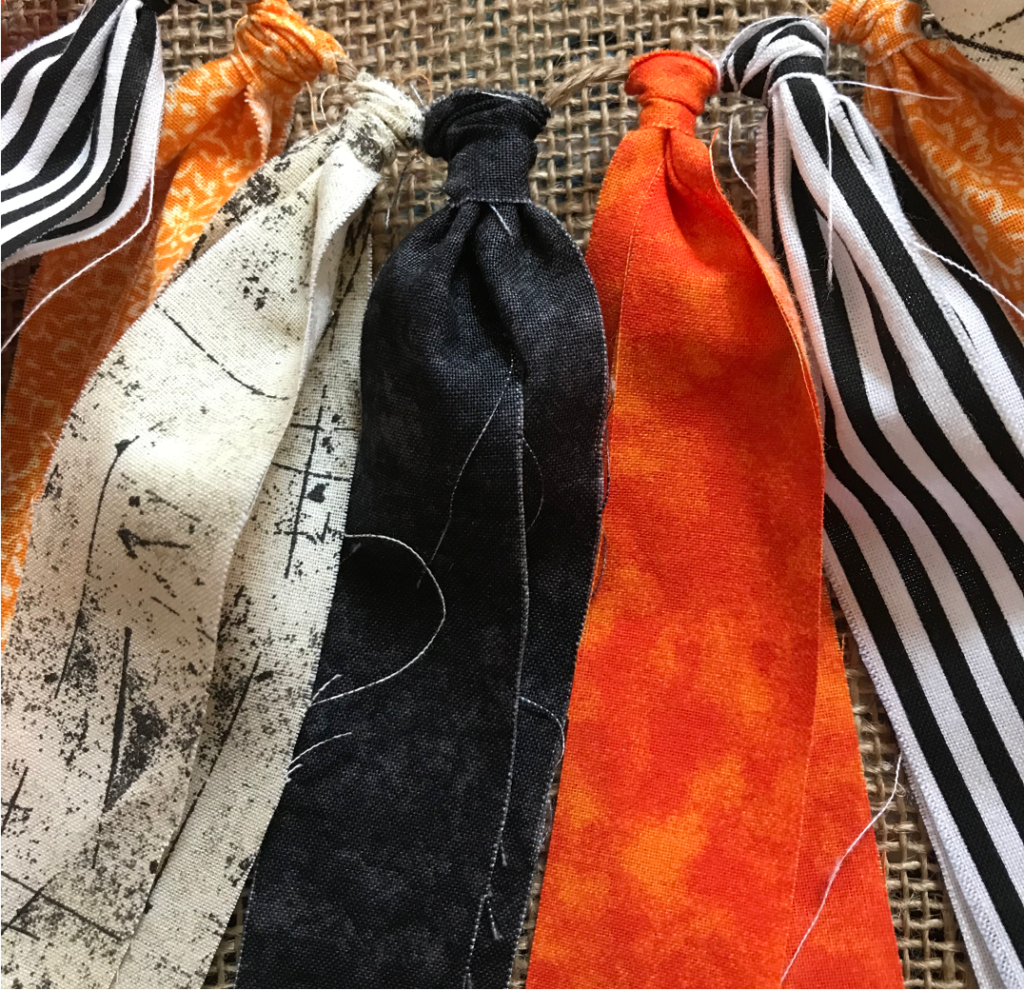
** PICTURES BELOW REPRESENT MY VINTAGE HALLOWEEN RAG GARLAND, BUT THE INSTRUCTIONS ARE THE SAME FOR ANY GARLAND YOU CHOOSE TO MAKE
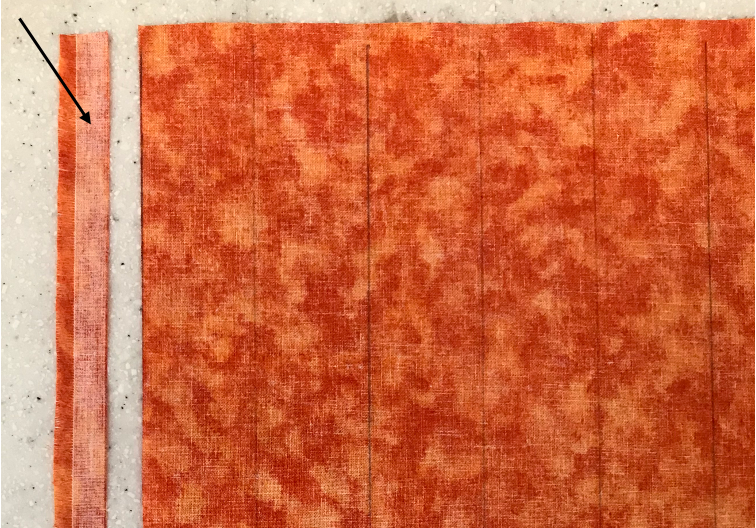
Take your first (ironed) fabric piece and lay it out 18″ tall and 44″ wide in front of you. Cut off the lefthand side edging and discard it, see photo below.
Add Your Heading Text Here
Next, line your ruler up with left edge of your fabric, and on the right side of your ruler draw a line from top to bottom with your pen or pencil.
Line your ruler up with the line you just made and repeat across until you have marked 18, 15 or 13 strips.
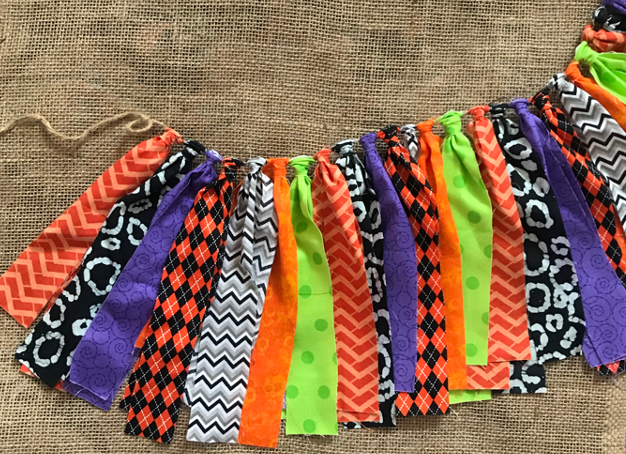
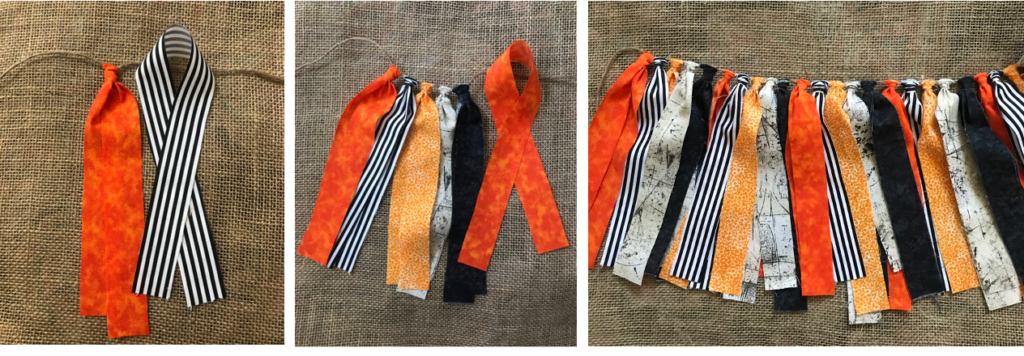
Lay your strips in the order you want to tie them on the twine. The above photos show how I ordered my strips for my vintage Halloween garland and patriotic garland.
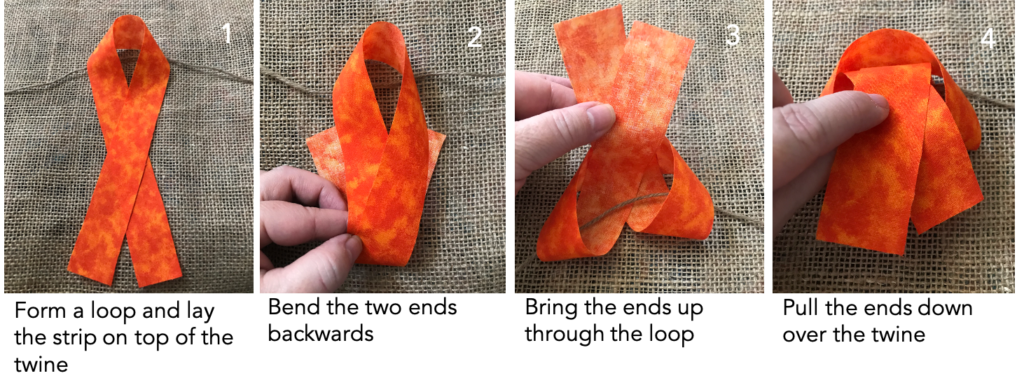
Cut your twine 80″L, then come in about 10″ from the left side and tie your first strip there, see photos below for a visual on how to tie the strips.
Once the first fabric strip is secure on the twine, move on to the next strip and tie it to the twine, then scoot it over next to the first tied strip.
Continue to tie strips until all 5, 6 or 7 fabric choices are on the twine. Repeat this sequence until all 90 or 91 strips have been tied to the twine, see photos below.
SPACING NOTE: If you ruler is 1 3/8″ wide you can tie you fabric strips with slight space between each strip to fit the 5′ of fabric strip space. However, if your ruler is 1 6/8″ wide scoot your fabric strips right up next to each other in order to fit the 5′ of fabric strip space.
Add Your Heading Text Here
FABRIC STRIP CLEAN UP
After all the fabric strips are tied to the twine you will have lots of stray threads.
Give the garland a quick clean up by pulling and cutting off many visible threads as you can so the garland has a cleaner look.
Use a clothes steamer to keep your garland looking new season after season. It’s an easy way to get rid of unwanted wrinkles and creases!
finished patriotic fabric rag garland
Happy Creating!
Your July 4th holiday will sparkle with these easy-to-make DIY Toilet Paper Firecrackers. Find the free directions here.
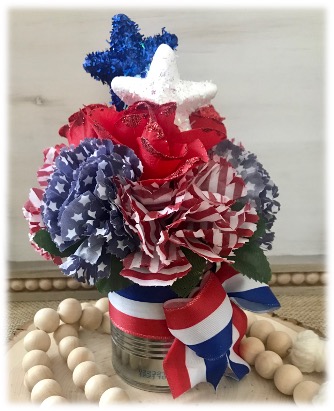
Red, White and Oh So Cute! These mini patriotic bouquets are a perfect companion to your patriotic decor. Find the free directions here.
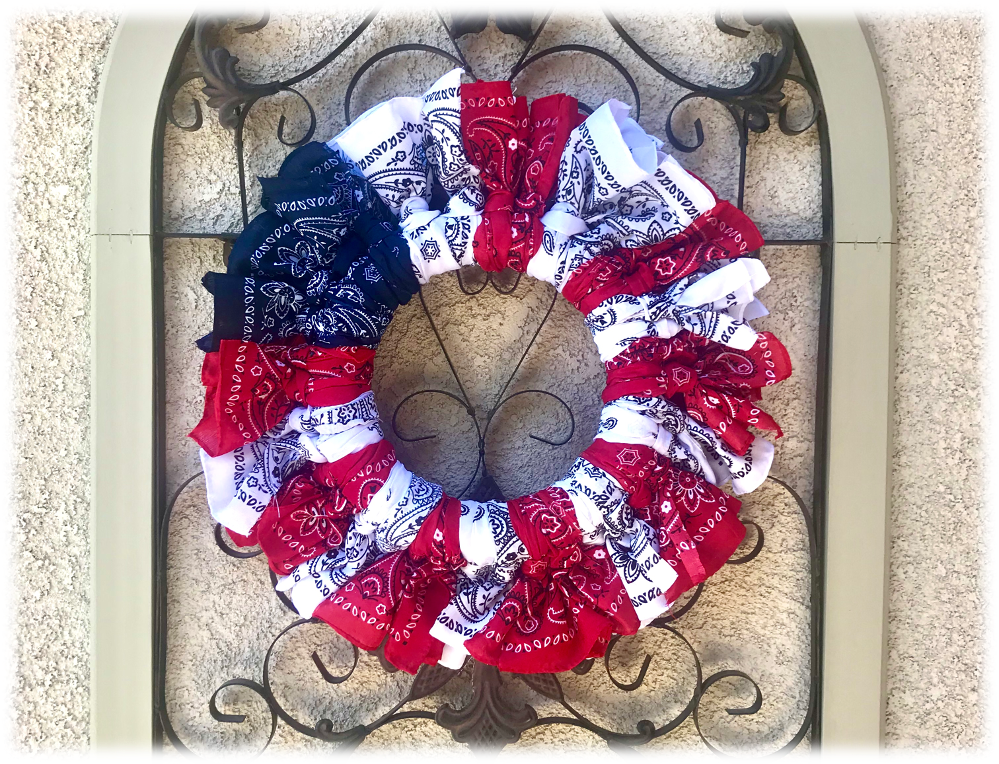
This simple DIY Patriotic Bandana Wreath makes up quick and looks so patriotic you will be proud to hang it on your door. Find the free pattern here.
Contact
I would love to hear from you! Feel free to leave me a comment below, use the ‘Contact Me’ section on the top menu bar and leave a comment there, or email me directly at mypassionatesoul123@gmail.com.
Subscribe
All subscribers welcome! If you would like to stay current and receive email updates with the latest My Passionate Soul news, alerts to new FREE patterns, exciting giveaway info and more, you can sign-up at the ‘Subscribe’ section of the sidebar menu. I promise you will never receive any spam, just yarn news and other crafty stuff!
***I put a lot of labor, love and time into the design of my patterns and create them for personal use only. Please do not sell my patterns and claim them as your own. Feel free to make and sell items you’ve made from my patterns, but if you do I ask that you link directly back to my post or blog and provide the link. You may also share my patterns on social media as long as you, again, link directly back to my post or blog and provide the link. Please do not copy and paste my patterns and claim them as your own. If selling items made from my patterns I ask that you use your own photos and do not re-publish any photos related to my patterns as your own. Thank you for your understanding.***


Leave a Reply