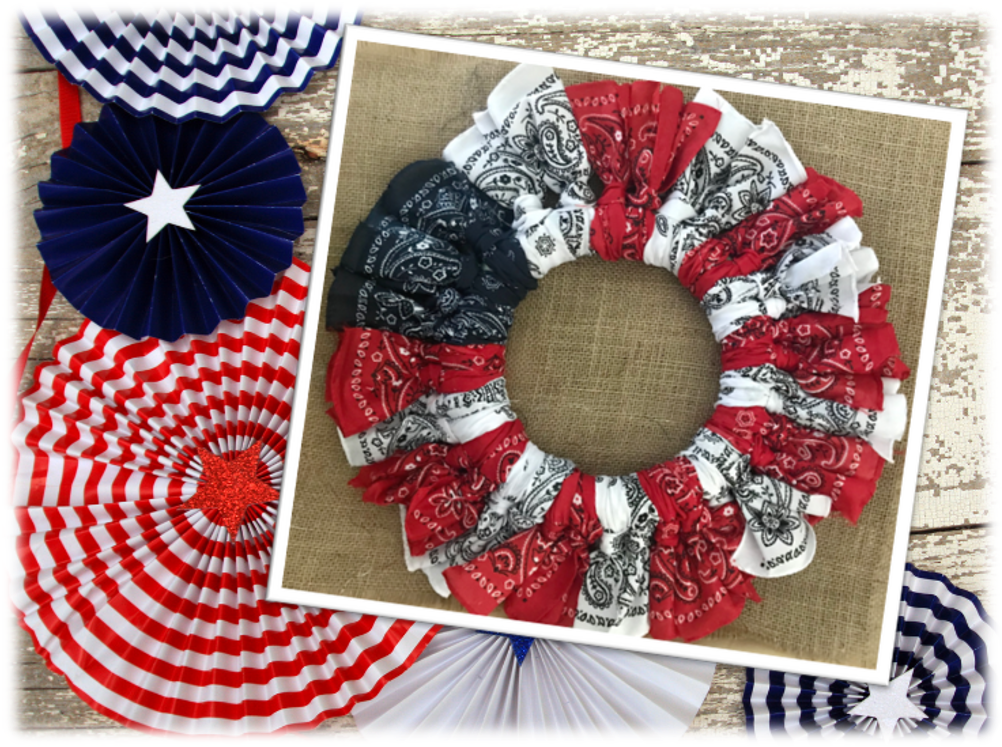
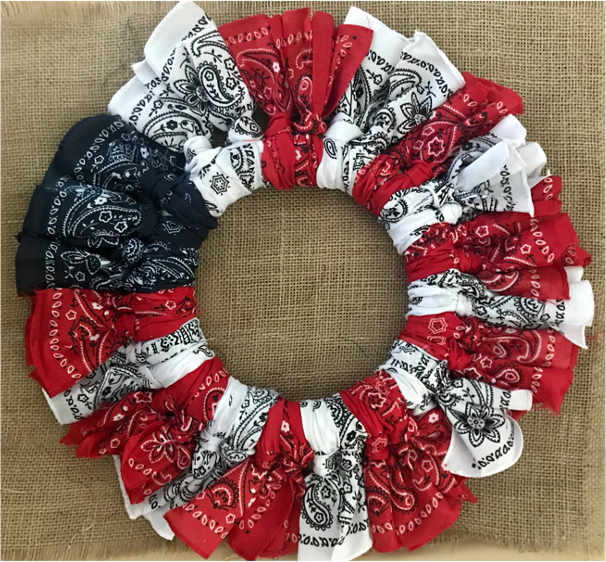
Dress up your front door with this super simple DIY Patriotic Bandana Wreath. The perfect decor for celebrating Flag Day, Memorial Day and July 4th! This cost-friendly project makes up quick and you can find the FREE pattern with easy-to-follow directions and photos below.
INSPIRATION
Red, White and Blue! Living in the United States my entire life, I have always loved this vibrant color combination, and I love what these three colors together represent…Freedom, Unity, Justice, Pride and Independence. For me, these colors also mean summertime, parades, barbeques, swimming pools, homemade ice cream, fireworks and good ole’ fashion neighborhood gatherings. As soon as all the patriotic decor started appearing in stores and I saw these red, white and blue bandanas, I knew I wanted to create an easy, quick, DIY wreath and share the pattern with you all! I hope your inspired to make one for you front door!
SKILL LEVEL
EASY
jkdkdkdkdkdk
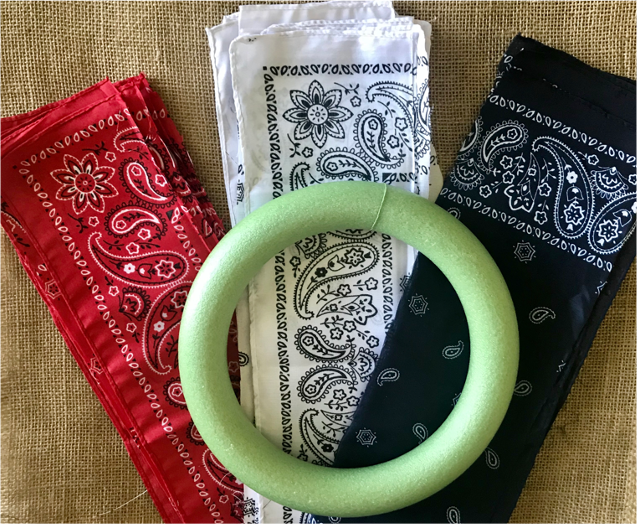
PROJECT MATERIALS
NOTE: I found all of my project supplies at our local Dollar Tree
BANDANAS
Navy Blue (1) Red (4) White (4)
WREATH
Floral Foam Wreath – 9.8″ (24 cm)
ADDITIONAL MATERIALS
Scissors
PROJECT MEASUREMENTS
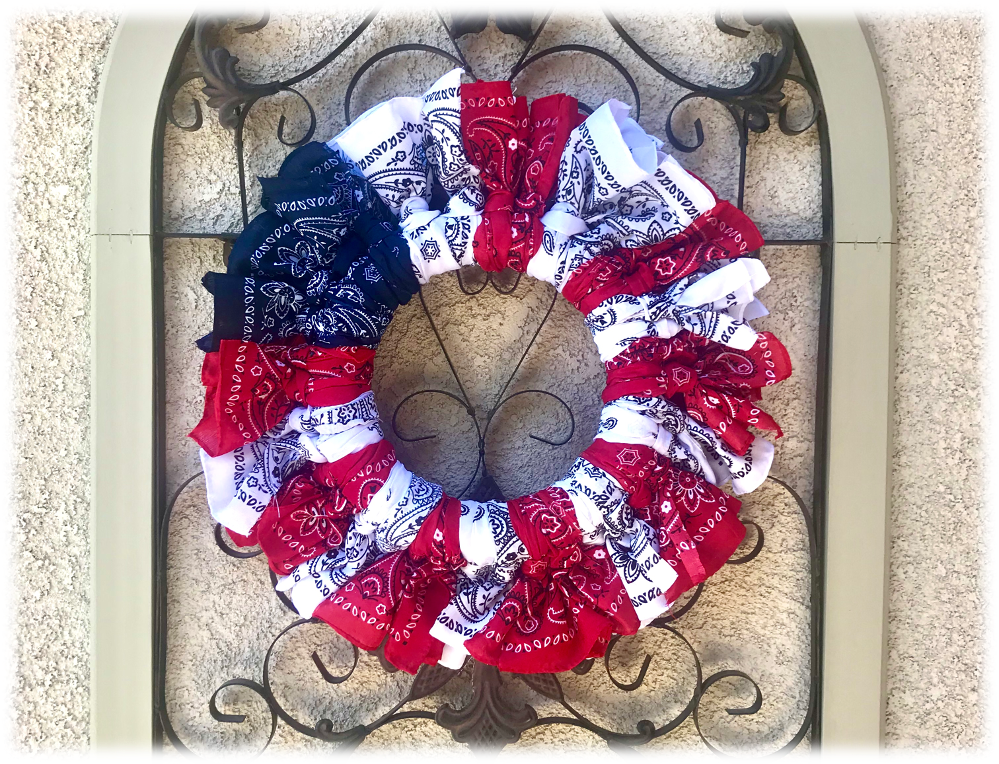
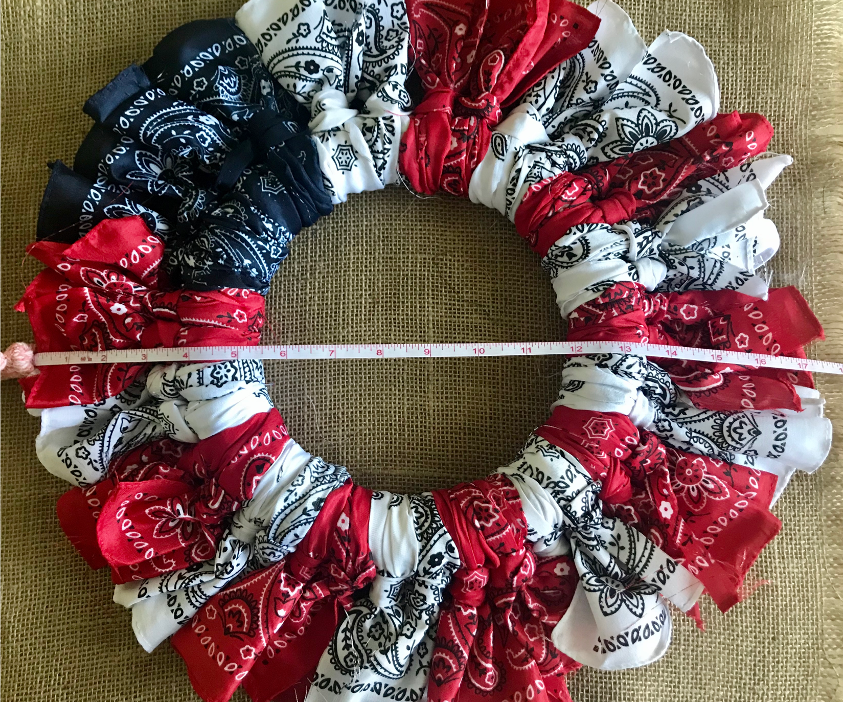
Wreath measures approximately 17″ across and around
PROJECT INSTRUCTIONS
jjdfkdjfkdfjkdfj
CUTTING BANDANAS
Take your first bandana and cut it in half. Cutting doesn’t have to be perfect. I just eye-balled mine but you can also measure and mark lines if you prefer. Either way works!
Cut each half in half again.
You will have 4 cut pieces per bandana.
Total pieces will equal 4 blue, 16 red and 16 white.
ATTACHING BANDANA PIECES TO WREATH
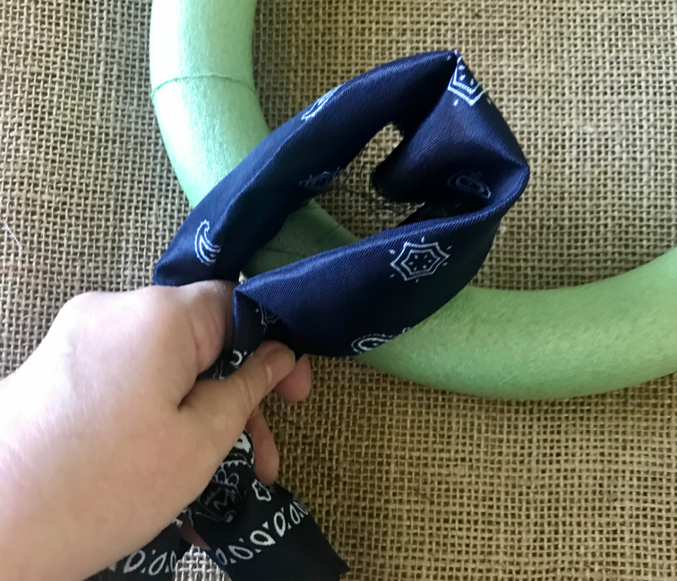
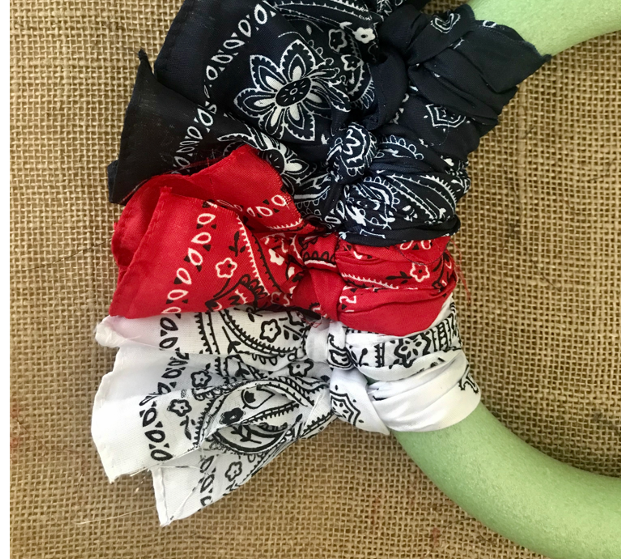
Take your first blue bandana piece and with the piece lengthwise, fold each side in toward the center. Form the piece into a loop with the tails even at the other end. Place the loop section on top of the wreath (see right photo).
Add Your Heading Text Here
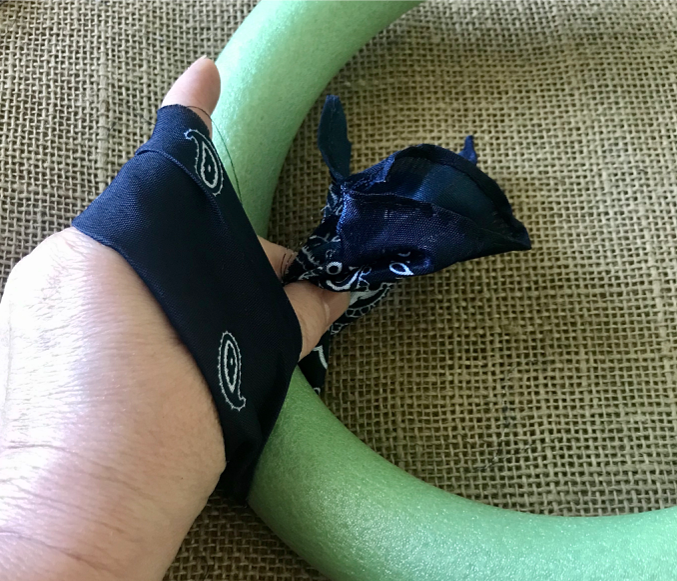
Flip the even tails underneath the wreath so they are now positioned in the center of the wreath.
With your hand through the loop, and using your index finger and thumb, pinch together the two ends and pull them all the way through the loop.
djfkdjfkdjfkd
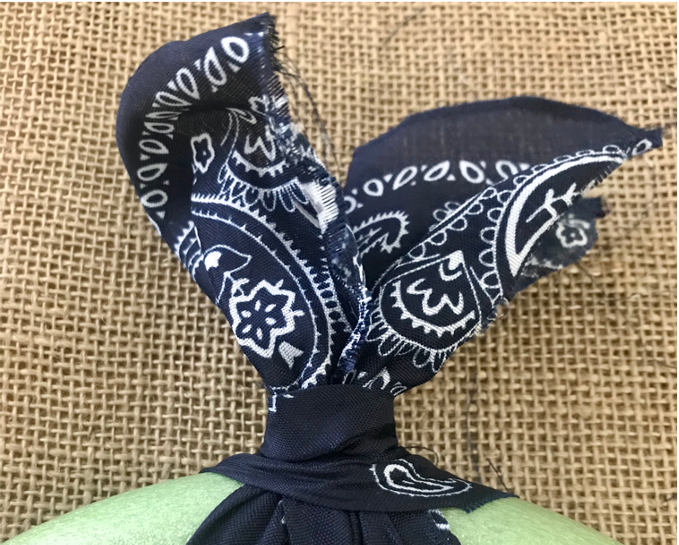
While holding the tails together with one hand, push and tighten up the loop on the wreath with the other hand.
Grab the end of each tail and give it a tug while tightening and snugging the loop on the wreath. You want the piece to be as secure on the wreath as possible.
Once all 4 blue pieces are snug on the wreath, add 2 red pieces, then two white, then two red, two white and so on until all the pieces have been tied and secured on the wreath.
A QUICK TRIM
I bought my bandanas at our Dollar Tree and the fabric wasn’t quite the same quality as you will find at JoAnn’s, Michael’s, Hobby Lobby, etc. They worked just fine, but did fray a little bit. I just gave my finished wreath a quick trim of loose threads before I hung it.
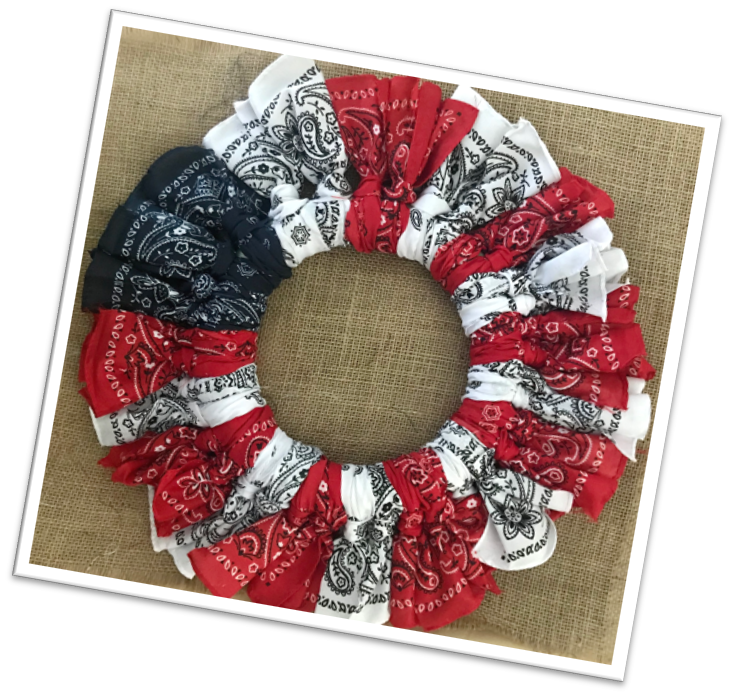
Flags don’t have to be rectangular and strung on a pole to represent your country with pride. This patriotic wreath will do the trick. Make one and hang it proudly on your front door!
Happy Creating!
Check It Out!
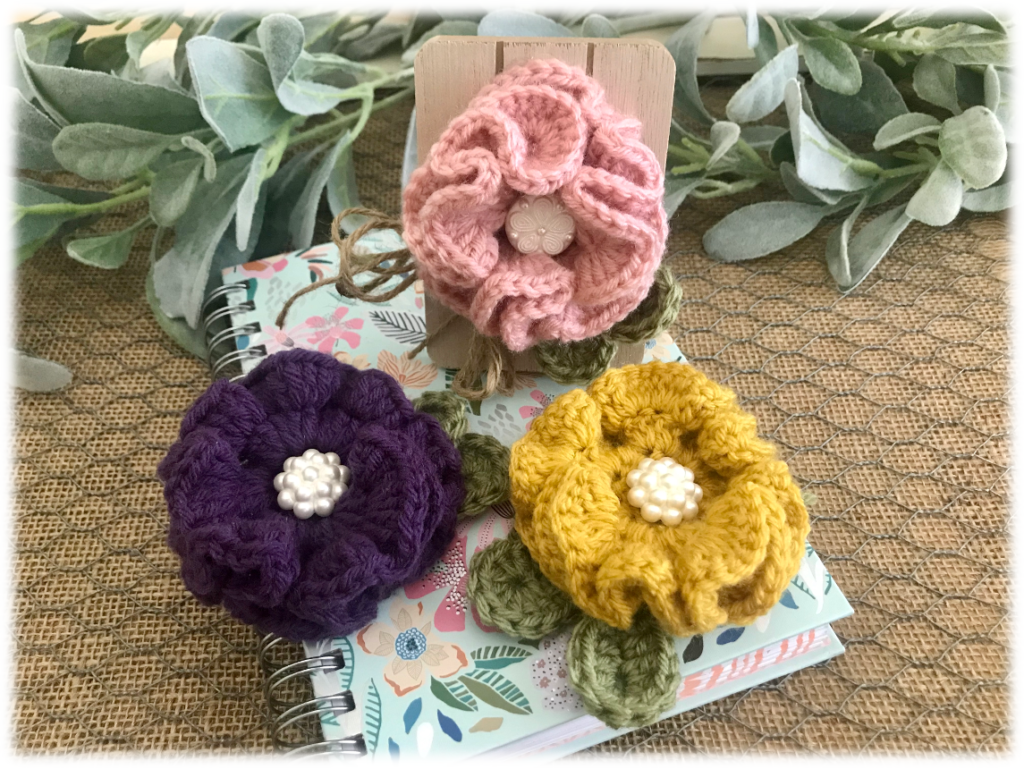
These pretty Simple Crochet Decorative Flowers are so easy to make and can be used in so many ways! Find the free pattern here
Contact
I would love to hear from you! Feel free to leave me a comment below, use the ‘Contact Me’ section on the top menu bar and leave a comment there, or email me directly at mypassionatesoul123@gmail.com.
Subscribe
All subscribers welcome! If you would like to stay current and receive email updates with the latest My Passionate Soul news, alerts to new FREE patterns, exciting giveaway info and more, you can sign-up at the ‘Subscribe’ section of the sidebar menu. I promise you will never receive any spam, just yarn news and other crafty stuff!
***I put a lot of labor, love and time into the design of my patterns and create them for personal use only. Please do not sell my patterns and claim them as your own. Feel free to make and sell items you’ve made from my patterns, but if you do I ask that you link directly back to my post or blog and provide the link. You may also share my patterns on social media as long as you, again, link directly back to my post or blog and provide the link. Please do not copy and paste my patterns and claim them as your own. If selling items made from my patterns I ask that you use your own photos and do not re-publish any photos related to my patterns as your own. Thank you for your understanding.***


Leave a Reply