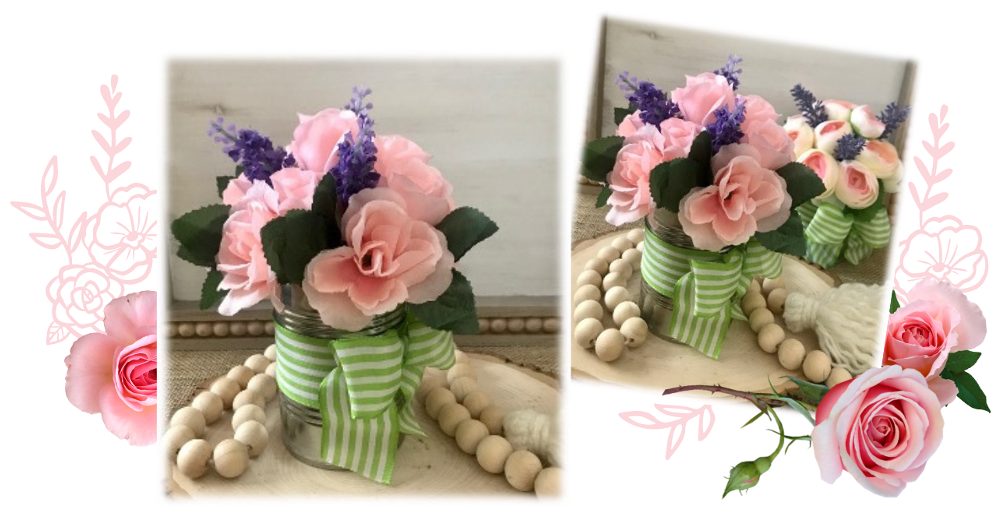
It’s canning season, but not the kind of canning you’re thinking of. These springtime bouquets are so pretty sitting in cleaned up, label removed, food cans, and they make up so quick you can make several in no time. Find the easy-to-follow instructions below, with lots of photos included.
INSPIRATION
I love real, fresh flowers and the beauty they provide, BUT I also really love artificial flowers and all the things you can do with them. Who knows how my brain works, but as I was about to throw a vegetable can in the recycle it hit me; this would make a really unique vase with some pretty spring (artificial) flowers. I was right! These mini bouquets in a can are so pretty. I made four, gave one to my mom, one to my sister-in-law and kept two for myself. They would also make great bridal shower or birthday party decor or take-away favors!
PROJECT MATERIALS for Springtime Bouquets
CRAFTING TOOLS
Dinner Knife Glue Gun Scissors Wire Cutters
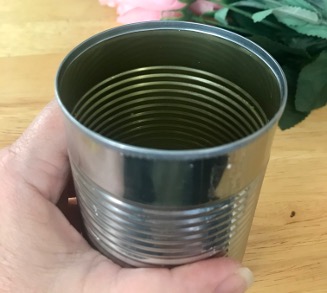
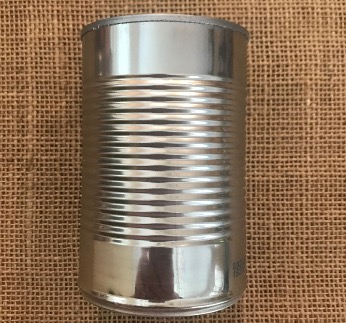
FOOD CAN - emptied, label removed, washed & dried
I used a 15 oz can
NOTE: my electric can opener makes a smooth, clean cut (right photo). If your can opener makes more of a jagged cut you may want to choose a can that has a pop top lid.
If you have trouble removing your label and any glue residue from your can I recommend GOO GONE. This product removes stuck-on glue just like that!
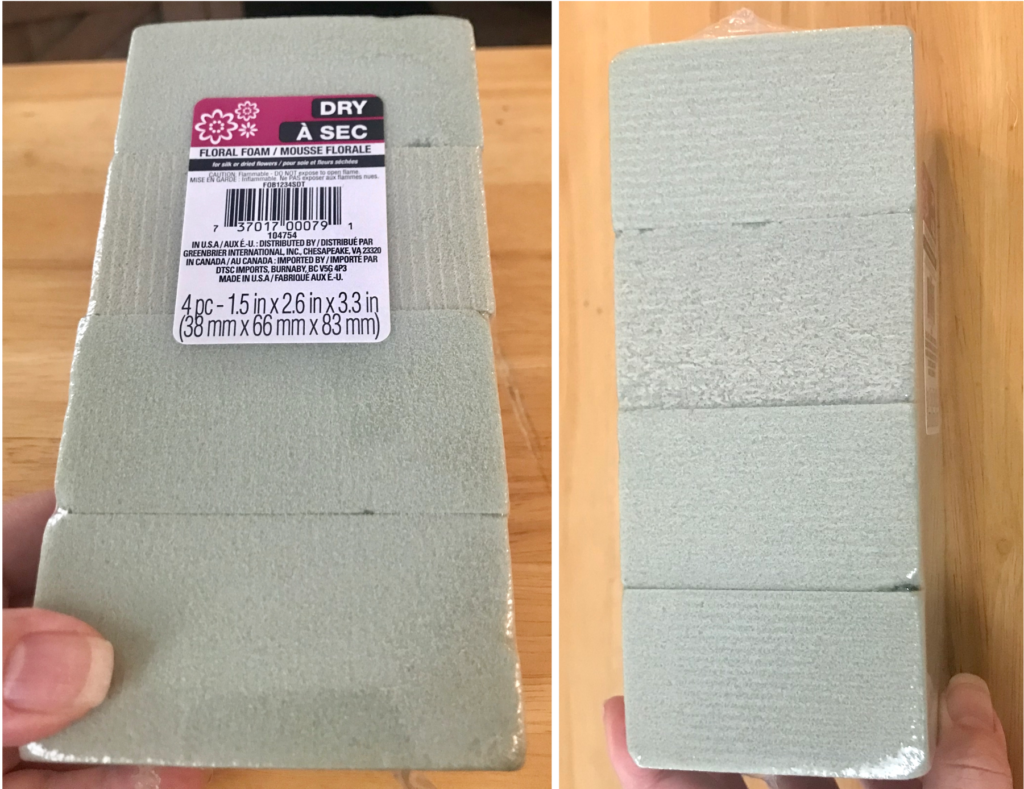
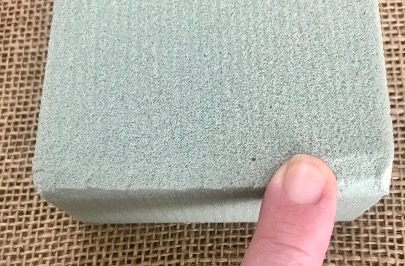
FLORAL FOAM - 2 square blocks
I bought my floral foam at Dollar Tree. I like this type of foam because it kind of squishes and can be manipulated easily to fit what I’m working with.
I used 2 of the 4 foam blocks for this project.
Each block measures 1.5″ x 2.6″ x 3.3″
RIBBON - 1 1/2" wide
You can use any ribbon you like. I found my ribbon at Hobby Lobby. Here is the link to find the exact ribbon I used –
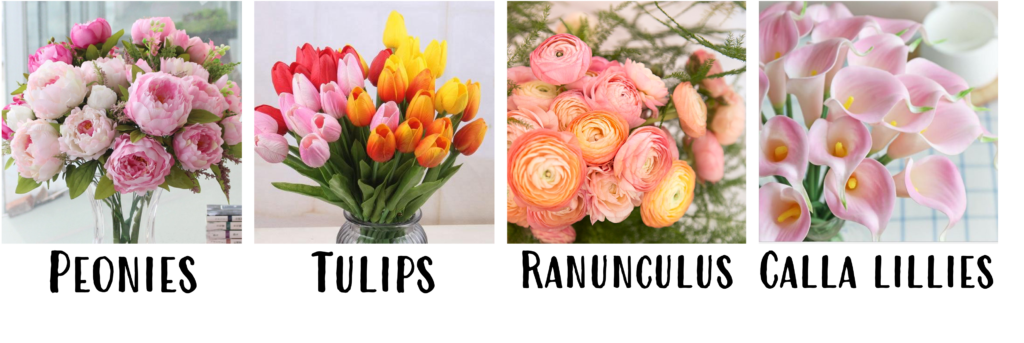
MAIN FLOWER TYPES – I chose roses, but you can choose just about any flower type or types you like for this project. Just below I have included photos of other flower types that I think will work really well, but again you can use whatever you like. You can also choose to use 2 or 3 different types of flowers in one bouquet.
ACCENT FLOWER TYPES – For my accent flower I chose lavender but several other filler flowers will work well too. Below I have included photos of other accent flower types.
COLOR CHOICES are up to you as well. I went with one color for my main flowers (roses) and for an accent color I threw in some Lavender. A mix of flower colors looks pretty too!
NOTE: I bought my flowers at our local DOLLAR TREE but if you have a WALMART near you, they have beautiful, realistic bushes at reasonable prices.
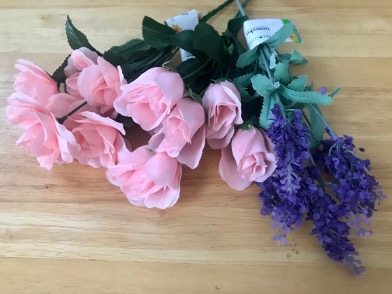
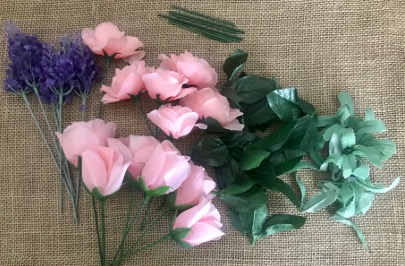
MY FLOWER CHOICES
For my can size (15 oz.) I bought 3 bushes; 2 different pink rose bushes and 1 lavender bush for accent. (Each bush has 6 flowers).
NOTE: I chose large, opened roses which I will use all around the outside of the can. If you choose smaller size flowers, such as rose buds or tulips, for the outside layer you will want to buy an extra bush of that flower because it will take more than six flowers to go all the way around without gaps in between.
INSTRUCTIONS - Springtime Bouquets in a Can
Remove the can label and any glue residue, then wash and dry out your can. (It’s easier to remove the label when it’s dry, not wet).
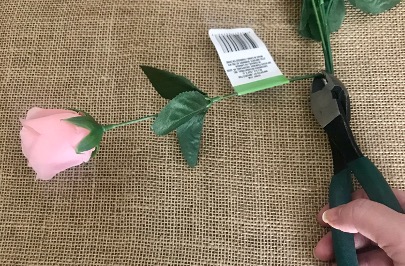
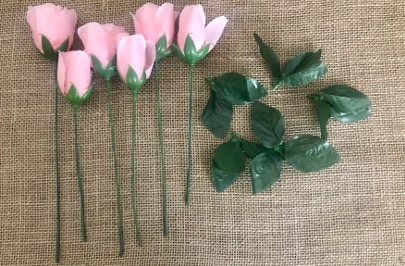
With your wire cutters cut each flower from the bush, cutting the stem as long as you can.
Remove all the leaves from the stems.
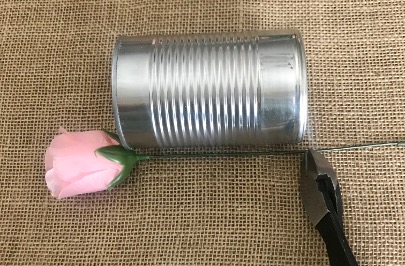
Use your can to measure how long the stems should be and cut each flower that length.
Add Your Heading Text Here
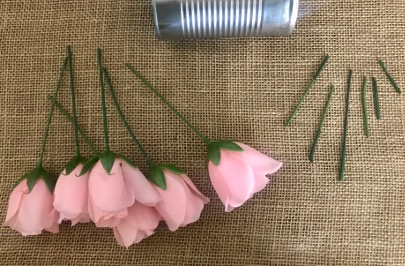
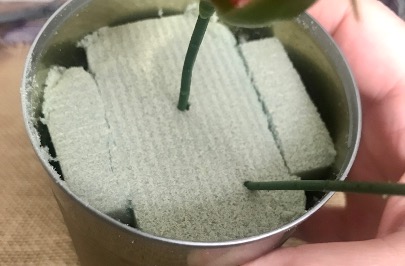
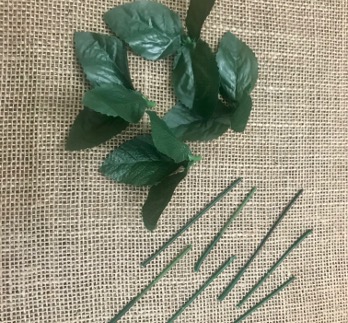
You will want to keep the excess pieces of stem that were cut (see right side of photo), keeping the longest pieces. These will be used later for this project.
All my flowers are cut, leaves are separated and I wound up with 7 pieces of excess stem to be used later.
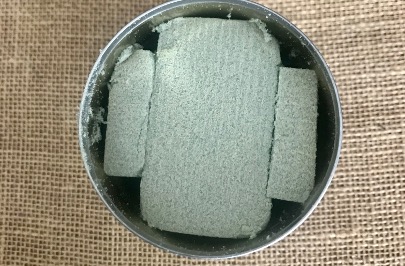
Take one foam block and along the long edges use your finger to push in the corners and all along the side. Repeat on the other long side.
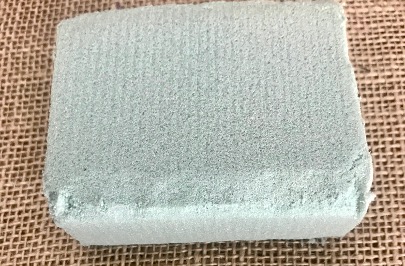
Flip the foam block over and push in the corners and along both long sides.
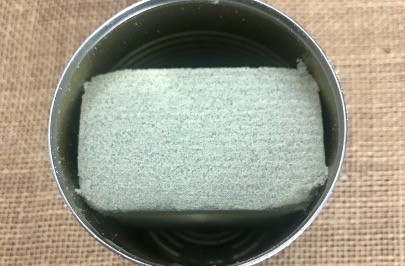
The foam block should fit snuggly down into the can. You may need to push in the corners and long edges a little bit more until the foam fits in the can.
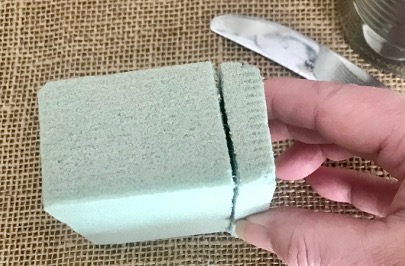
Using a second foam block, take a dinner knife and cut a 1/4″ wide piece of foam. I used a slow sawing motion to work my knife all the way down the block. Cut one more 1/4″ wide piece.
Push one piece of cut foam down the side of the original foam block to fill in the can and push the other cut foam down the other side.
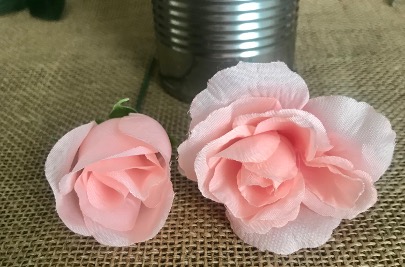
From my two rose flower choices I will use the rose buds for my highest and middle layers, and the opened roses for the outside bottom layer.
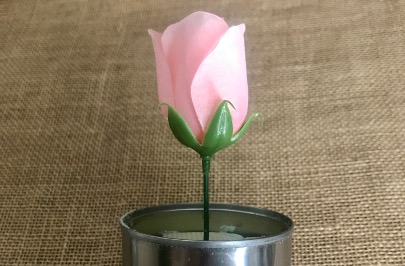
Choose what flower you will use as the highest point flower and push it straight down the middle of the foam. DO NOT push it all the way down. You will want to leave some height to this flower.
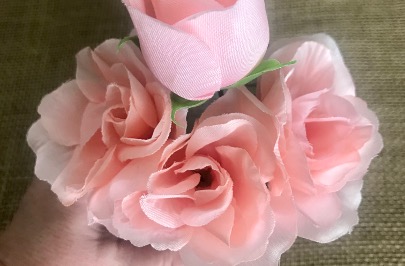
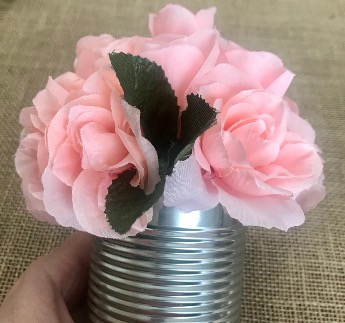
Next, take one of the outside flowers and insert it into the foam closer to the edge of the can, pushing this flower all the way down and bending each flower slightly forward.
Repeat with all the outside flowers placing them all the way around the can. I used all 6 of my opened roses.
BUT if you are using smaller flowers like rose buds or tulips for your outside layer you will need more than 6 flowers to go around the can without big gaps between each flower.
Take the remaining flowers that are the same as your center flower and push them down into the foam, slightly lower than the center flower and slightly above the lower outside layers.
I had 5 rose buds left for my center layer.
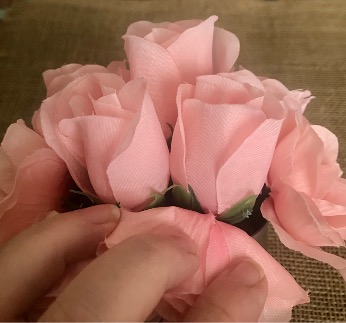
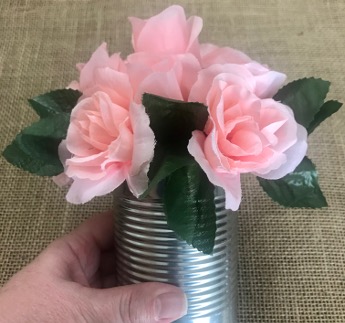
When all of your main flowers are arranged in the can you should be able to see the three layers; 1) the tallest center flower, 2) the middle flowers (I have 5), and the bottom outside flowers (I have 6).
You will place a set of leaves between each bottom layer of flowers. I used 6 sets of leaves and 6 pieces of the excess stem that I cut and saved earlier.
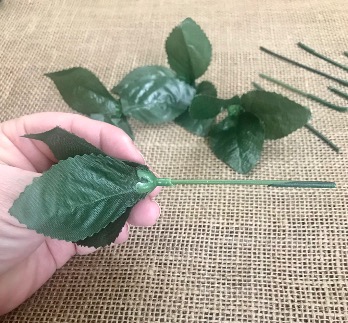
Push the piece of stem through a set of leaves, just enough to hold the leaves. For extra security you can put a little bit of glue from your glue gun on the tip of the stem and then push it through the leaves.
Repeat with the remaining stems and leaves.
Push your first set of leaves down into the foam between two flowers.
Move over and place the second set of leaves down between the next two flowers.
Repeat around placing a set of leaves between each flower on the bottom row.
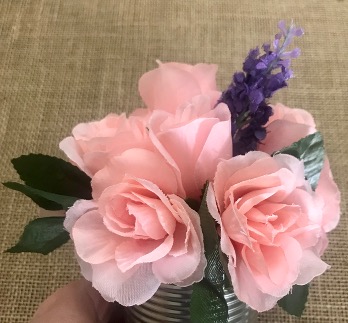
Accent flowers are next. Take the first flower and push it into the foam on the right side, just between the highest flower and middle row of flowers.
Add another accent flower on the left side and one more in the back.
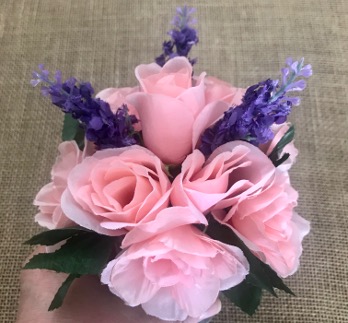
Photo shows the top view of the finished flowers and leaves.
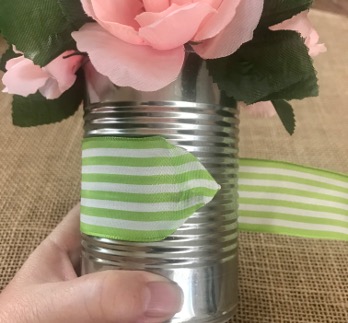
Take the end of our ribbon and fold in the corners. Glue this folded end to the can, gluing just the tip and not the rest of the ribbon.
NOTE: I like my ribbon/bow off to the side slightly, so I glued my end just to the right of the center of my bouquet.
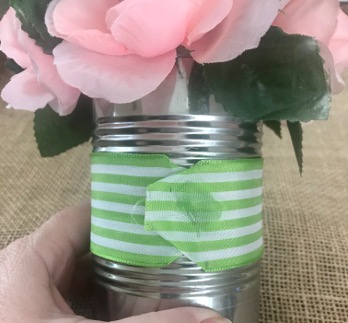
Bring the ribbon around, pulling taut, overlapping the glued end just a bit, cut the ribbon there, fold in the corners and glue this end over the first glued end, again, gluing just the tip only.
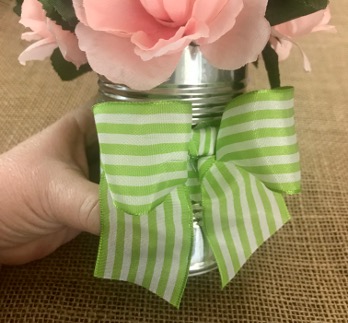
With the same ribbon make a nice bow, trim the ends so they are even, then glue the bow on top of where the two ends overlap.
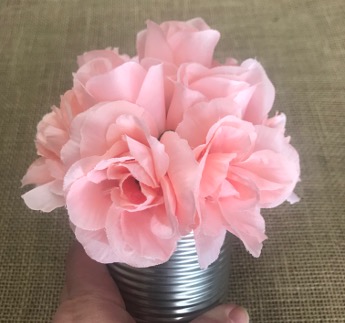
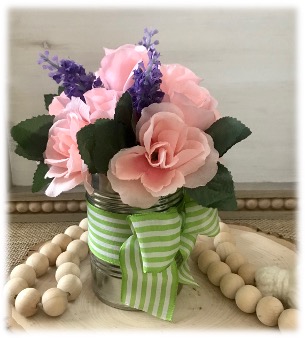
finished bouquet!
Happy Creating!
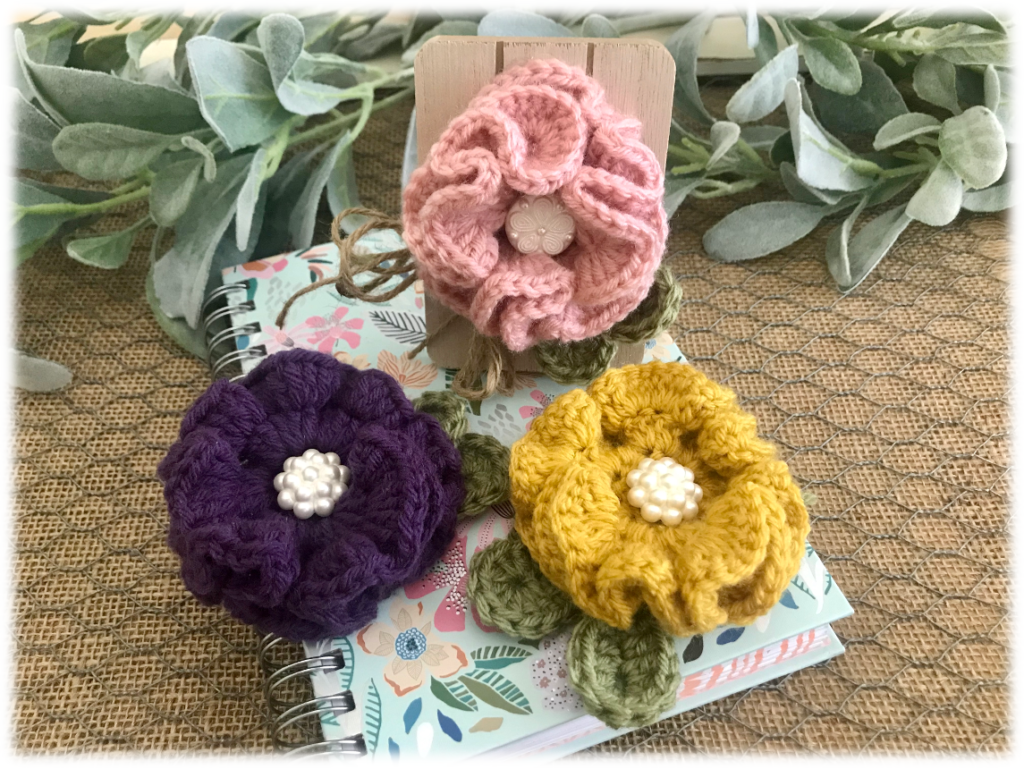
These pretty Simple Crochet Decorative Flowers are so easy to make and can be used in so many ways! Find ideas for use and the free pattern here
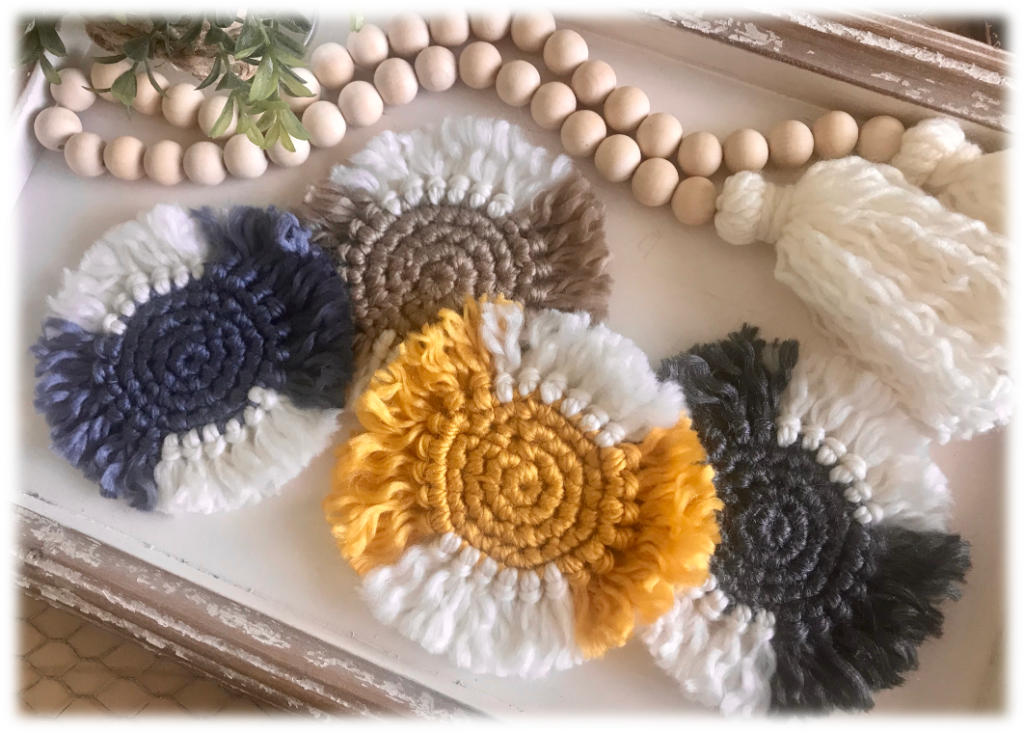
These Crochet Fringed Coasters give off a cool BOHO vibe, and are super simple to make! Find the free pattern here
Contact
I would love to hear from you! Feel free to leave me a comment below, use the ‘Contact Me’ section on the top menu bar and leave a comment there, or email me directly at mypassionatesoul123@gmail.com.
Subscribe
All subscribers welcome! If you would like to stay current and receive email updates with the latest My Passionate Soul news, alerts to new FREE patterns, exciting giveaway info and more, you can sign-up at the ‘Subscribe’ section of the sidebar menu. I promise you will never receive any spam, just yarn news and other crafty stuff!
***I put a lot of labor, love and time into the design of my patterns and create them for personal use only. Please do not sell my patterns and claim them as your own. Feel free to make and sell items you’ve made from my patterns, but if you do I ask that you link directly back to my post or blog and provide the link. You may also share my patterns on social media as long as you, again, link directly back to my post or blog and provide the link. Please do not copy and paste my patterns and claim them as your own. If selling items made from my patterns I ask that you use your own photos and do not re-publish any photos related to my patterns as your own. Thank you for your understanding.***


Leave a Reply