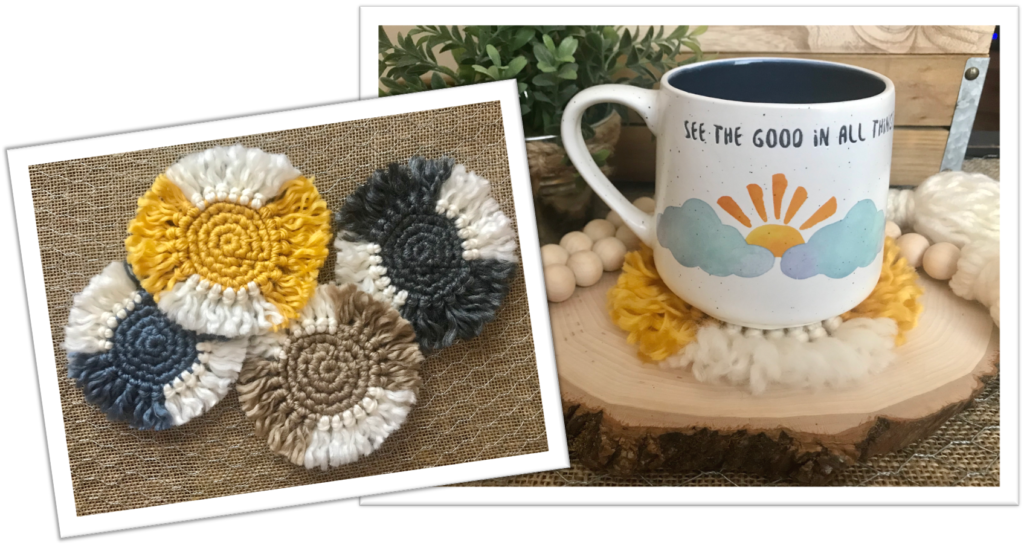
The FREE pattern for these Crochet Fringed Coasters is an incredibly easy, beginner friendly pattern and is available, complete with photos, below. These coasters make up so quickly you can make a set for yourself and gift a set to friends, co-workers, neighbors and new homeowners. For a great teacher gift find a cute mug, make a coaster to match and add a gift card. They will love it!!
INSPIRATION
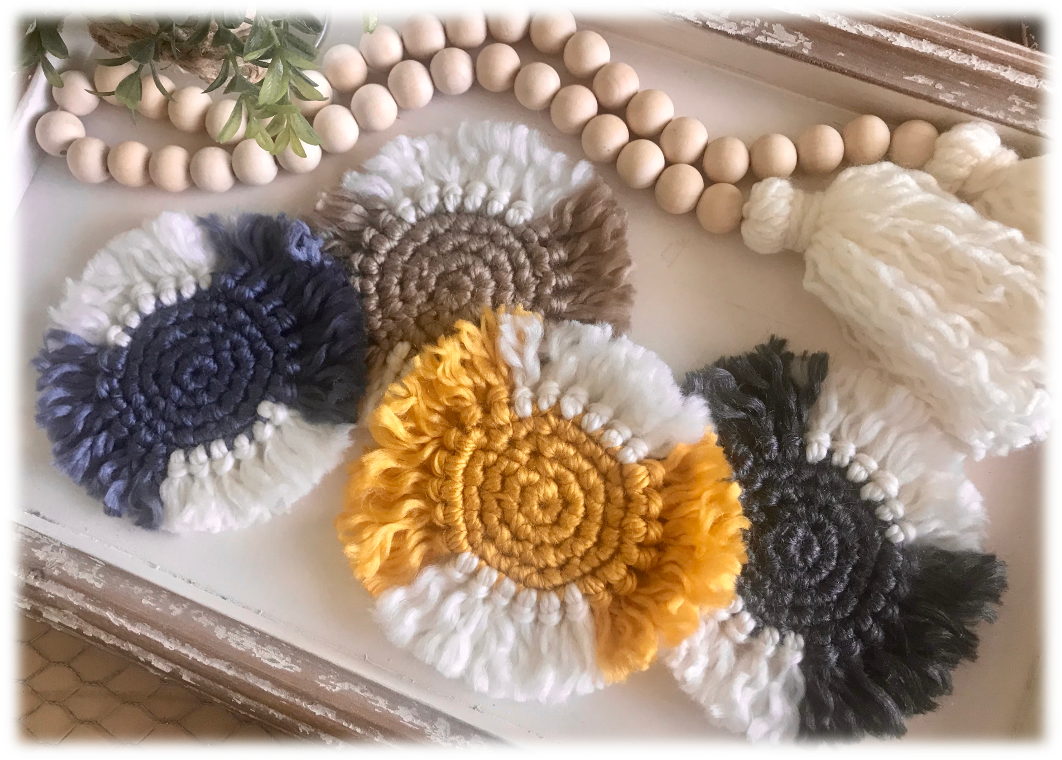
I was looking through a magazine and came across an ad for a craft site and the advertisement showed a set of fringed coasters. They were made of macrame and if I joined the sight I could get the pattern. I chose not to join and even though I didn’t have a pattern, I knew right away I could create my own version of these coasters using chunky yarn instead of macrame rope. I decided to go with a two-toned look and I love how these Crochet Fringed Coasters turned out, I love how they give off a bit of a BOHO vibe, and I love how super simple they are to make!
CROCHET SKILL LEVEL
EASY
The pattern for these Crochet Fringed Coasters is an easy level pattern that uses basic repetitive single crochet stitches in the round with simple finishing.
PROJECT MATERIALS
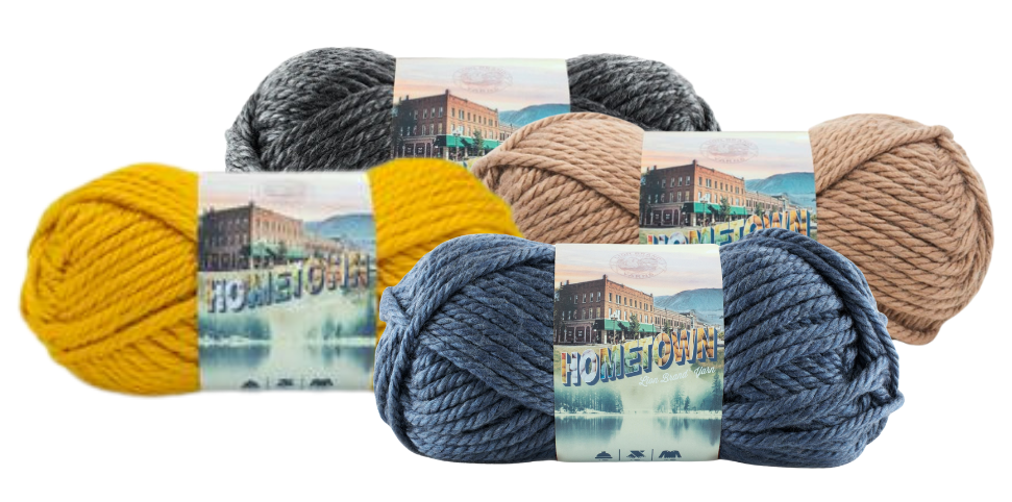
YARN - for these Crochet Fringed Coasters I used:
Lion Brand Hometown Yarn in CHICAGO CHARCOAL, HOBOKEN HONEY, HOUSTON CREAM, MADISON MUSTARD & WASHINGTON DENIM
Super Bulky 6 /100% Acrylic/ 81 yrds Partial Skein each
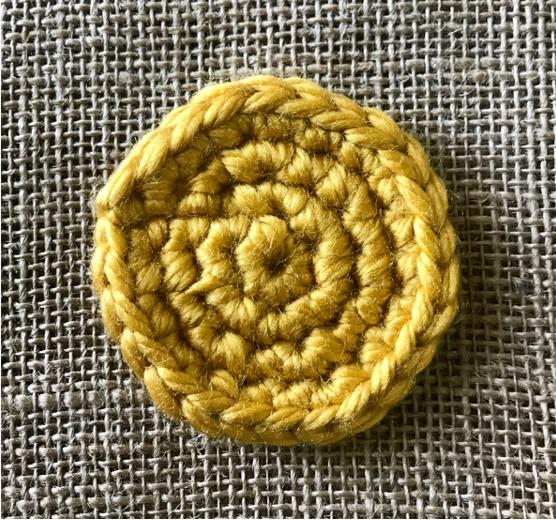
Before the fringe, crochet coaster measures approximately 3″ around
With fringe attached, crochet coaster measures approximately 6″ around
jkljkjljklklkj
CROCHET ABBREVIATIONS (US terms)
ch – chain sc – single crochet slp st – slip stitch st/sts – stitch/stitches
Pattern - CROCHET FRINGED COASTERS
Beginning Round – make a magic ring, sc 6 into ring, slp st
Round 2 – ch 1, sc 2 in each st around, slp st – (12)
Round 3 – ch 1, *sc 2 in the next st, sc 1 in the next*, repeat around, slp st – (18)
Round 4 – ch 1, *sc 2 in the next st, sc 1 in the next 2 sts*, repeat around, slp st – (24)
If using Lion Brand Hometown Yarn, tie off and weave in tails at this point.
NOTE:
Some brands of super bulky 6 yarn are not as thick as Lion Brand Hometown Yarn, which is what I used. If your coaster is smaller than 3″ wide after Round 4 you will want to add a 5th round.
**Round 5 – ch 1, *sc 2 in the next st, sc 1 in the next 3 sts*, repeat around, slp st – (30)
Tie off and weave in tails
ADDING FRINGE
Cut 12 – 8″ pieces of yarn for each color of yarn.
NOTE: the 24 pieces will be cut down considerably once they are attached to the coaster, but I find it is much easier to thread through and tie longer pieces than shorter ones.
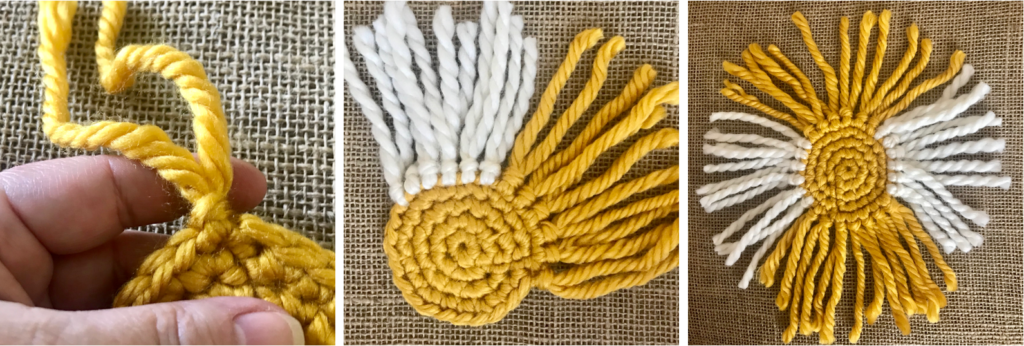
Start with one color of yarn and separate out six pieces of that color.
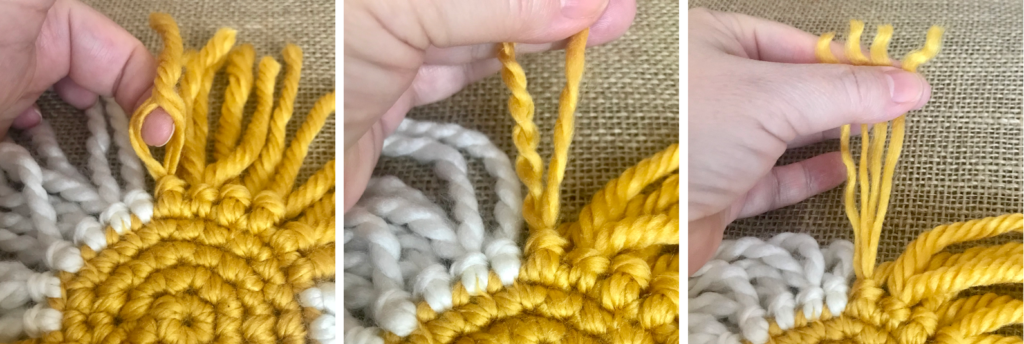
Thread your needle with the first piece of yarn then insert the needle through one of the stitches on the coaster (left photo).
Pull the yarn through about half way.
Turn the needle around and insert is back down through the same stitch. You will want to form a loop as you are pulling the yarn back through by keeping your index finger in place as your pull the yarn down around it (middle & right photos).
Using your thumb and index finger, open up the loop (left photo).
With those same fingers in the loop, grab the ends of the piece of yarn (middle photo).
Pull the ends through the loop (right photo).
Tighten up the loop snug to the coaster (left photo).
Thread another piece of yarn and insert your needle in the very next stitch from the first attached yarn piece.
Snug that piece up to the coaster.
Repeat in the next four stitches until all 6 pieces of the same color of yarn have been attached in a row.
Separate out six pieces of the second yarn color and attach them to the coaster right next to the first set of six pieces (middle photo).
Repeat around until all 24 pieces have been attached to the coaster (right photo).
To fray the yarn pieces use your finger to separate the first piece into two separate sections (left and middle photo).
Now separate each of the two sections and you will have four individual strands per yarn piece (right photo).
Repeat with each yarn piece around until all pieces have been frayed.
TRIMMING FRINGE
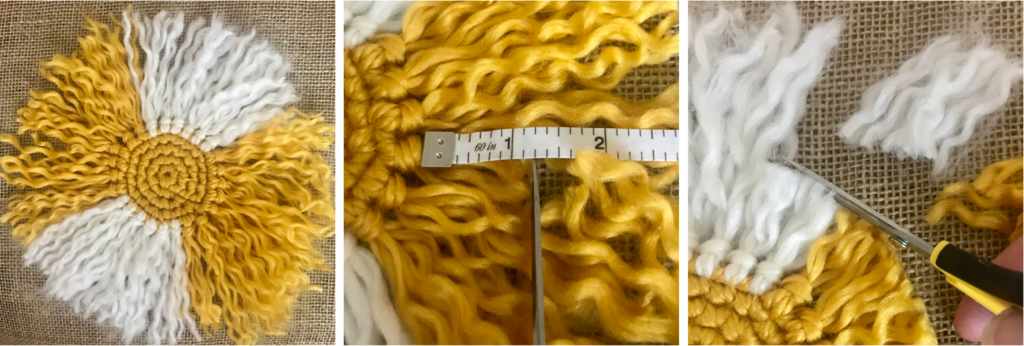
The left photo shows a coaster with frayed fringe before trimming.
With a measuring tape start at the point where the yarn piece loops were pulled snug to the coaster. From there measure out 1 1/4″ and make your first cut there (middle photo).
Cut all the frayed strands around at the 1 1/4″ mark (right photo).
Crochet Fringed Coasters Complete!
!Fun, Trendy and BOHO Chic!
Happy Creating!
Add Your Heading Text Here
Check It Out!
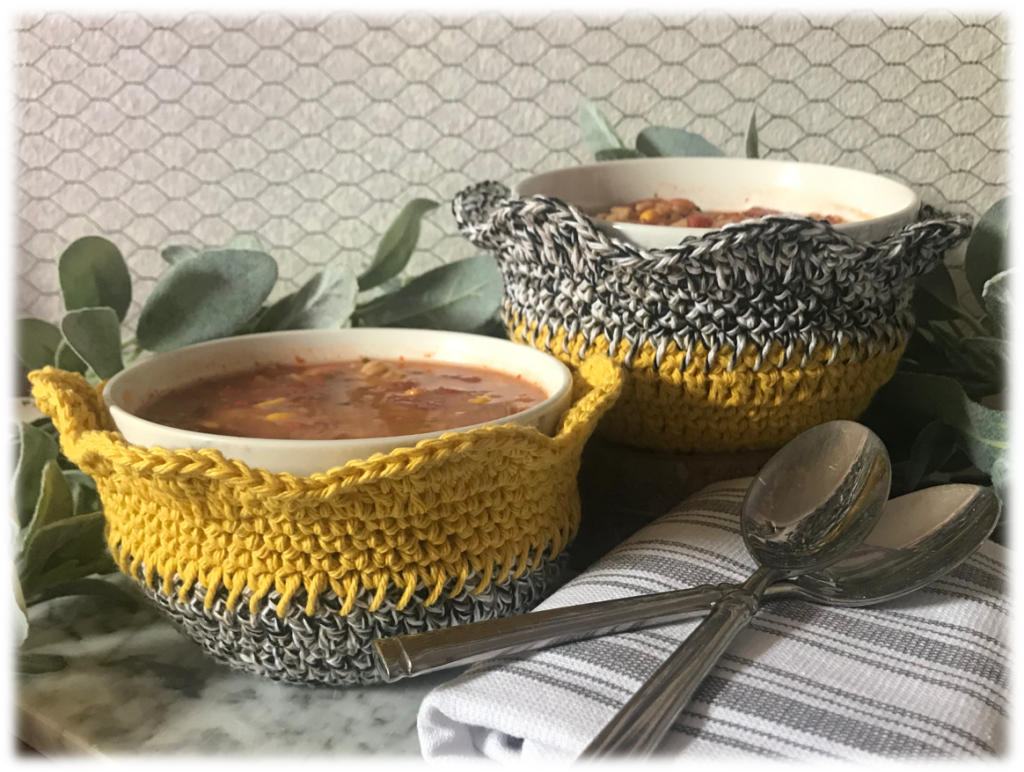
These Crochet Double Layered Bowl Cozies provide the perfect protection from extremely hot or really cold bowls. Find the free pattern here
BONUS soup recipe included with pattern
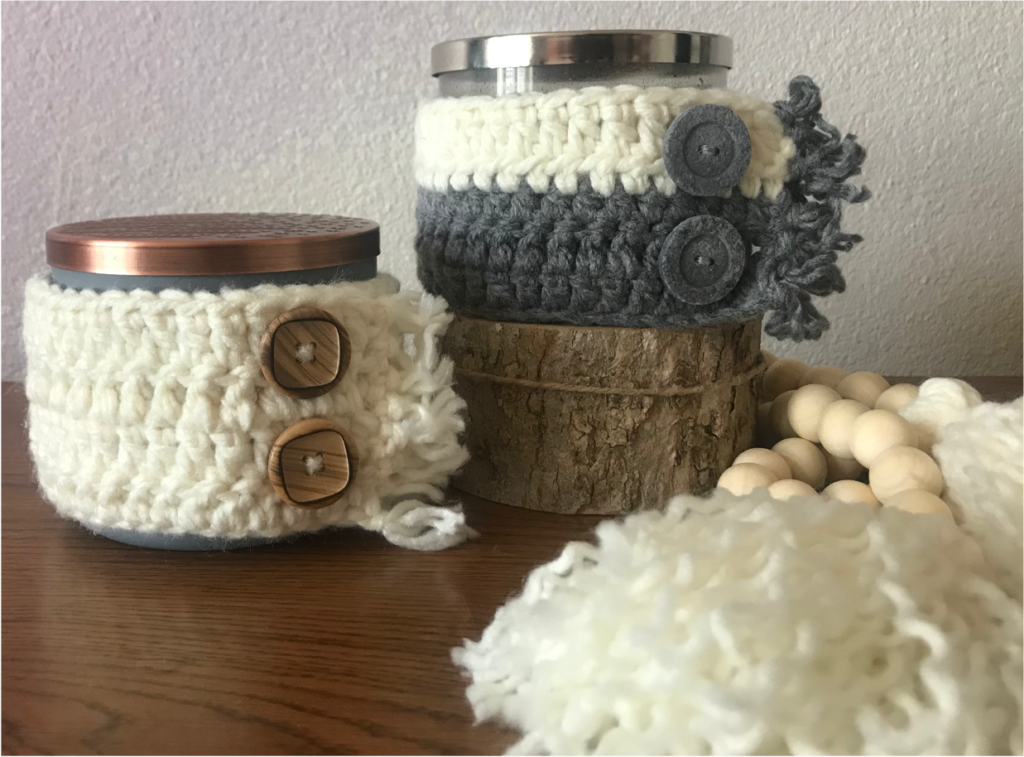
Dress up your 3-wick candles with a comfy cozy sweater-like Crochet Sweater Candle Cozy! Find the free pattern here
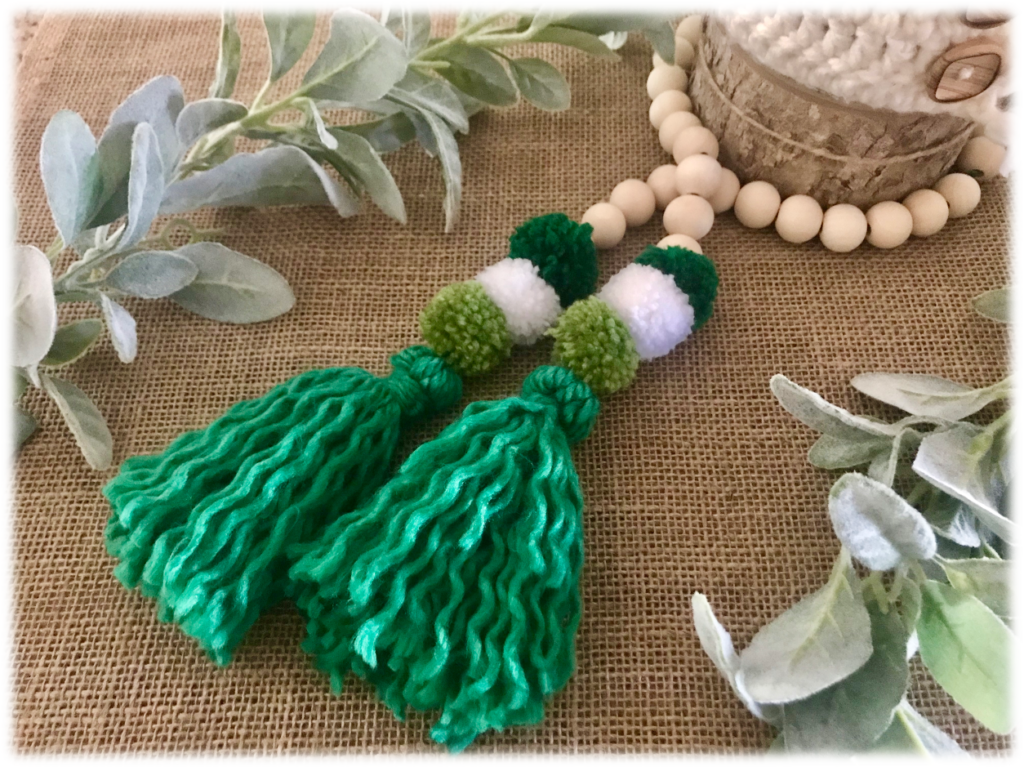
A DIY Tassel & Pom Pom Wood Bead Garland with color changes to match your scheme makes the perfect companion to any home decor! Find the free pattern here
kljkljlklklkj
Contact
I would love to hear from you! Feel free to leave me a comment below, use the ‘Contact Me’ section on the top menu bar and leave a comment there, or email me directly at mypassionatesoul123@gmail.com.
Subscribe
All subscribers welcome! If you would like to stay current and receive email updates with the latest My Passionate Soul news, alerts to new FREE patterns, exciting giveaway info and more, you can sign-up at the ‘Subscribe’ section of the sidebar menu. I promise you will never receive any spam, just yarn news and other crafty stuff!
***I put a lot of labor, love and time into the design of my patterns and create them for personal use only. Please do not sell my patterns and claim them as your own. Feel free to make and sell items you’ve made from my patterns, but if you do I ask that you link directly back to my post or blog and provide the link. You may also share my patterns on social media as long as you, again, link directly back to my post or blog and provide the link. Please do not copy and paste my patterns and claim them as your own. If selling items made from my patterns I ask that you use your own photos and do not re-publish any photos related to my patterns as your own. Thank you for your understanding.***


Leave a Reply