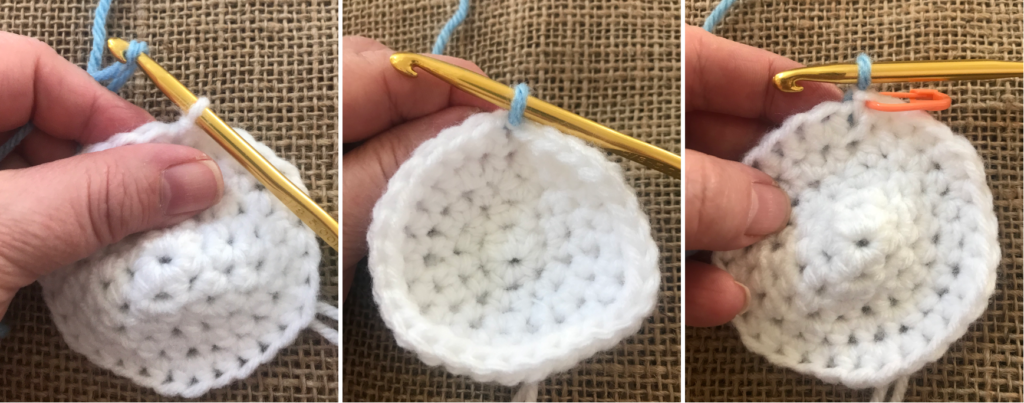
Beginning Round – with YARN 1 make a magic ring and hdc 6 into ring, pull yarn tail to tighten up ring, slp st
Round 2 – hdc 2 in each stitch around, slp st, place stitch marker (sm) in last stitch made (12)
Round 3 – *hdc 2 in the next st, hdc 1 in the next*- repeat x 4, hdc 2 in the next st, remove sm, hdc 1 in that space, slp st, return sm in last stitch made (18)
Round 4 – hdc 1 in the next st, *hdc 2 in the next st, hdc 1 in next 2 sts*- repeat x 4, hdc 2 in the next st, remove sm, hdc 1 in that space, slp st, return sm in last stitch made (24)
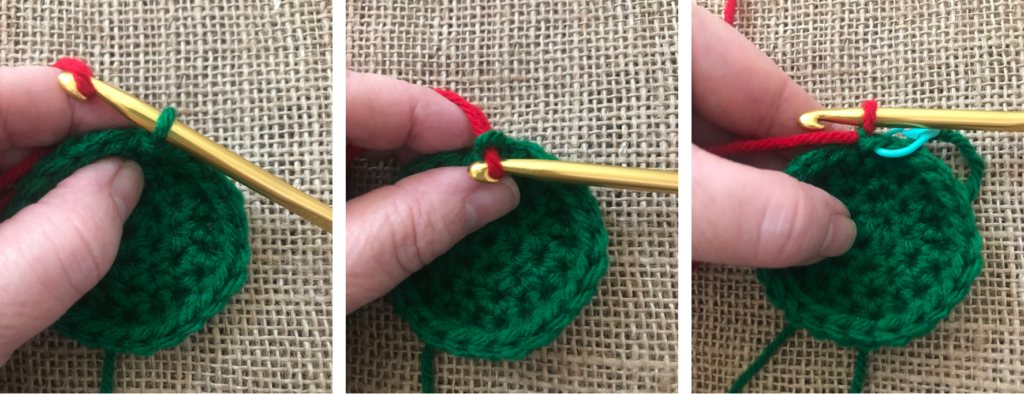
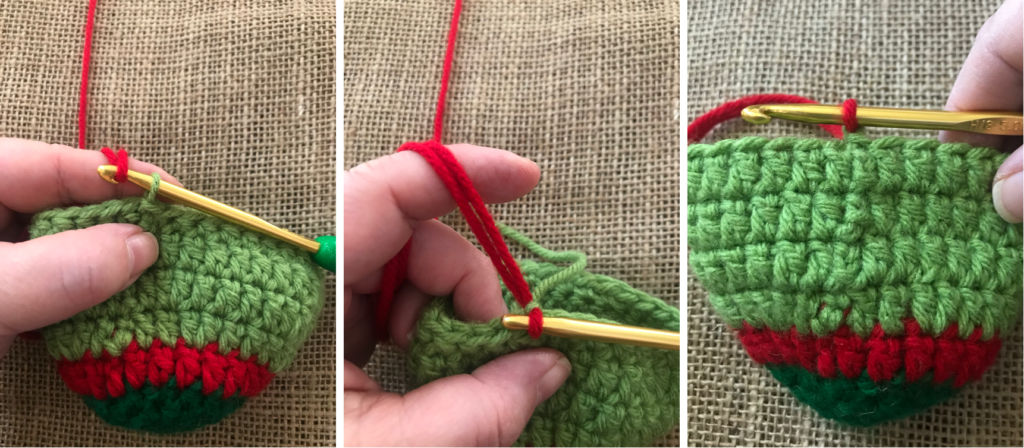
Round 5 – *hdc 2 in the next st, hdc 1 in the next 3 sts* – repeat x 4, hdc 2 in the next st, hdc 1 in the next 2 sts, remove sm, hdc 1 in that space, slp st (30)…
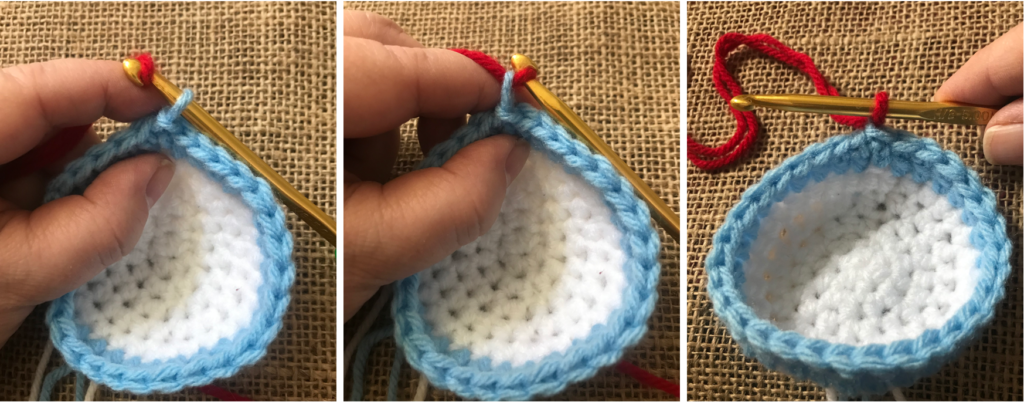
**COLOR CHANGE to YARN 2** – (yarn color of your choice)
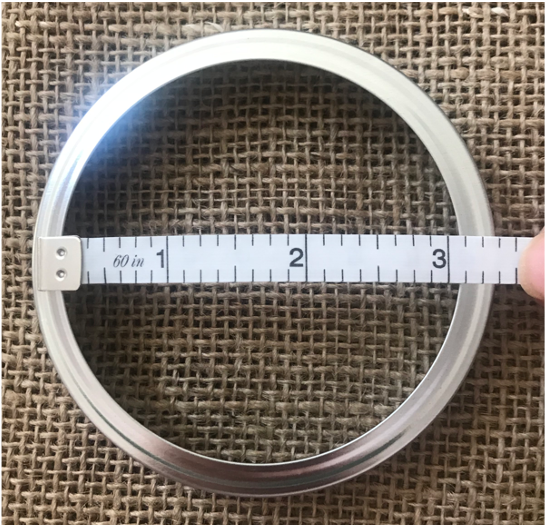
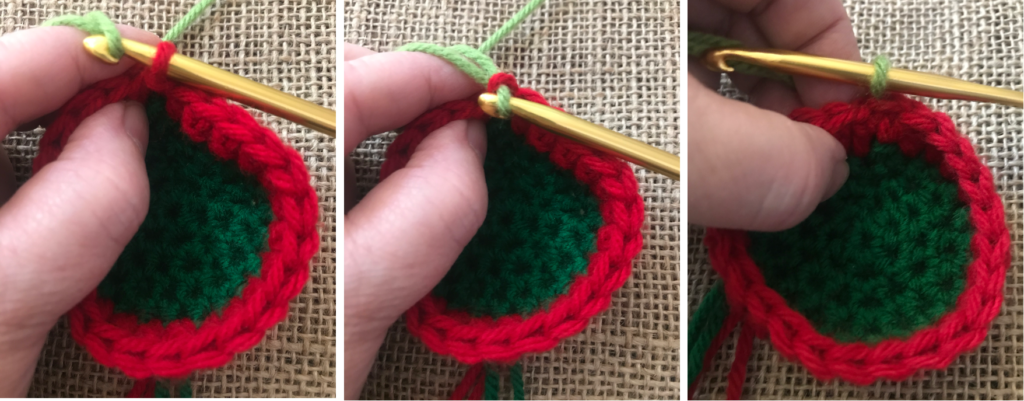
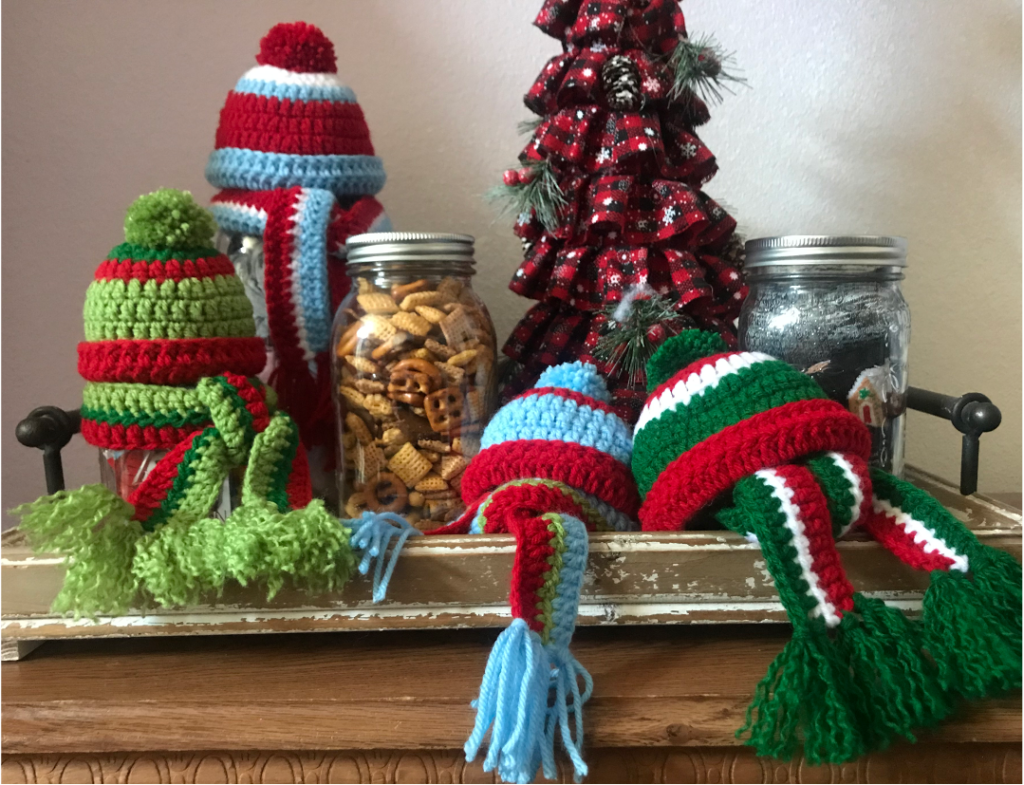
For my wide mouth jar hat I used CORNFLOWER BLUE for my YARN 2
…pull new YARN 2 color through slp st loop (left & middle photo), tighten up yarn and return sm to that new YARN 2 space (right photo).


Leave a Reply